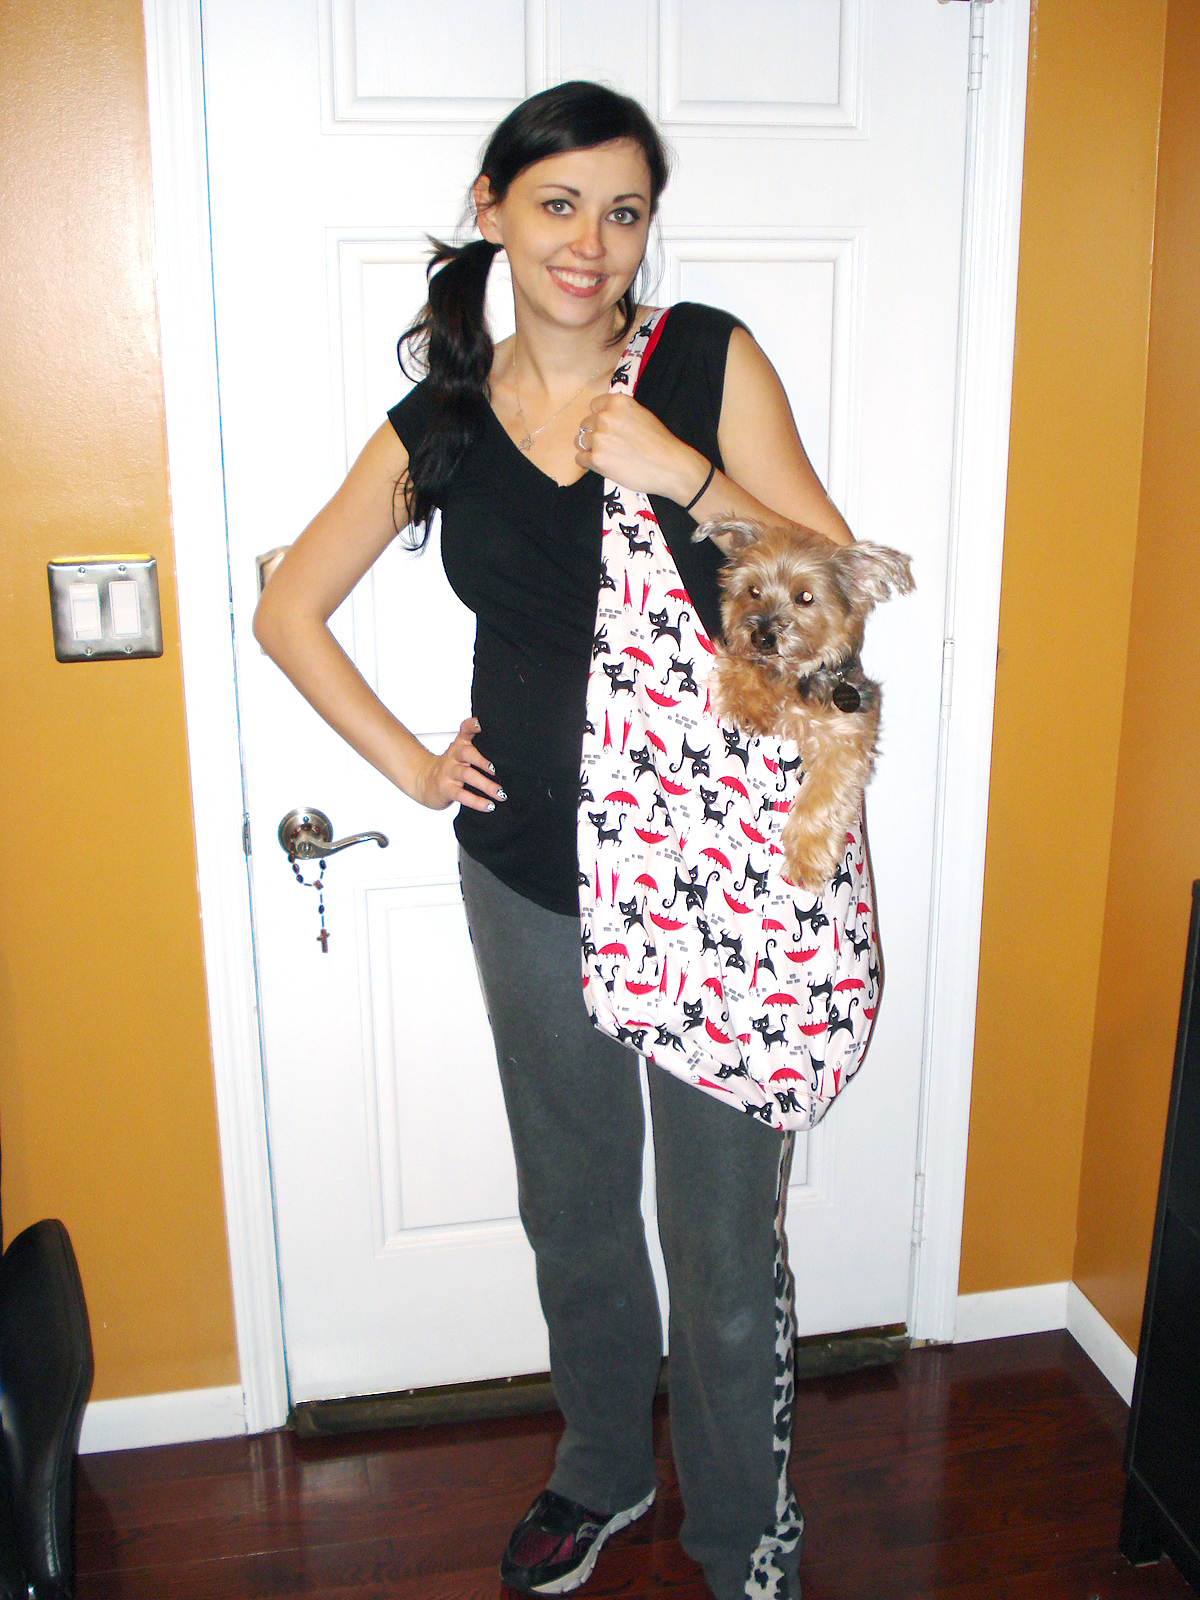
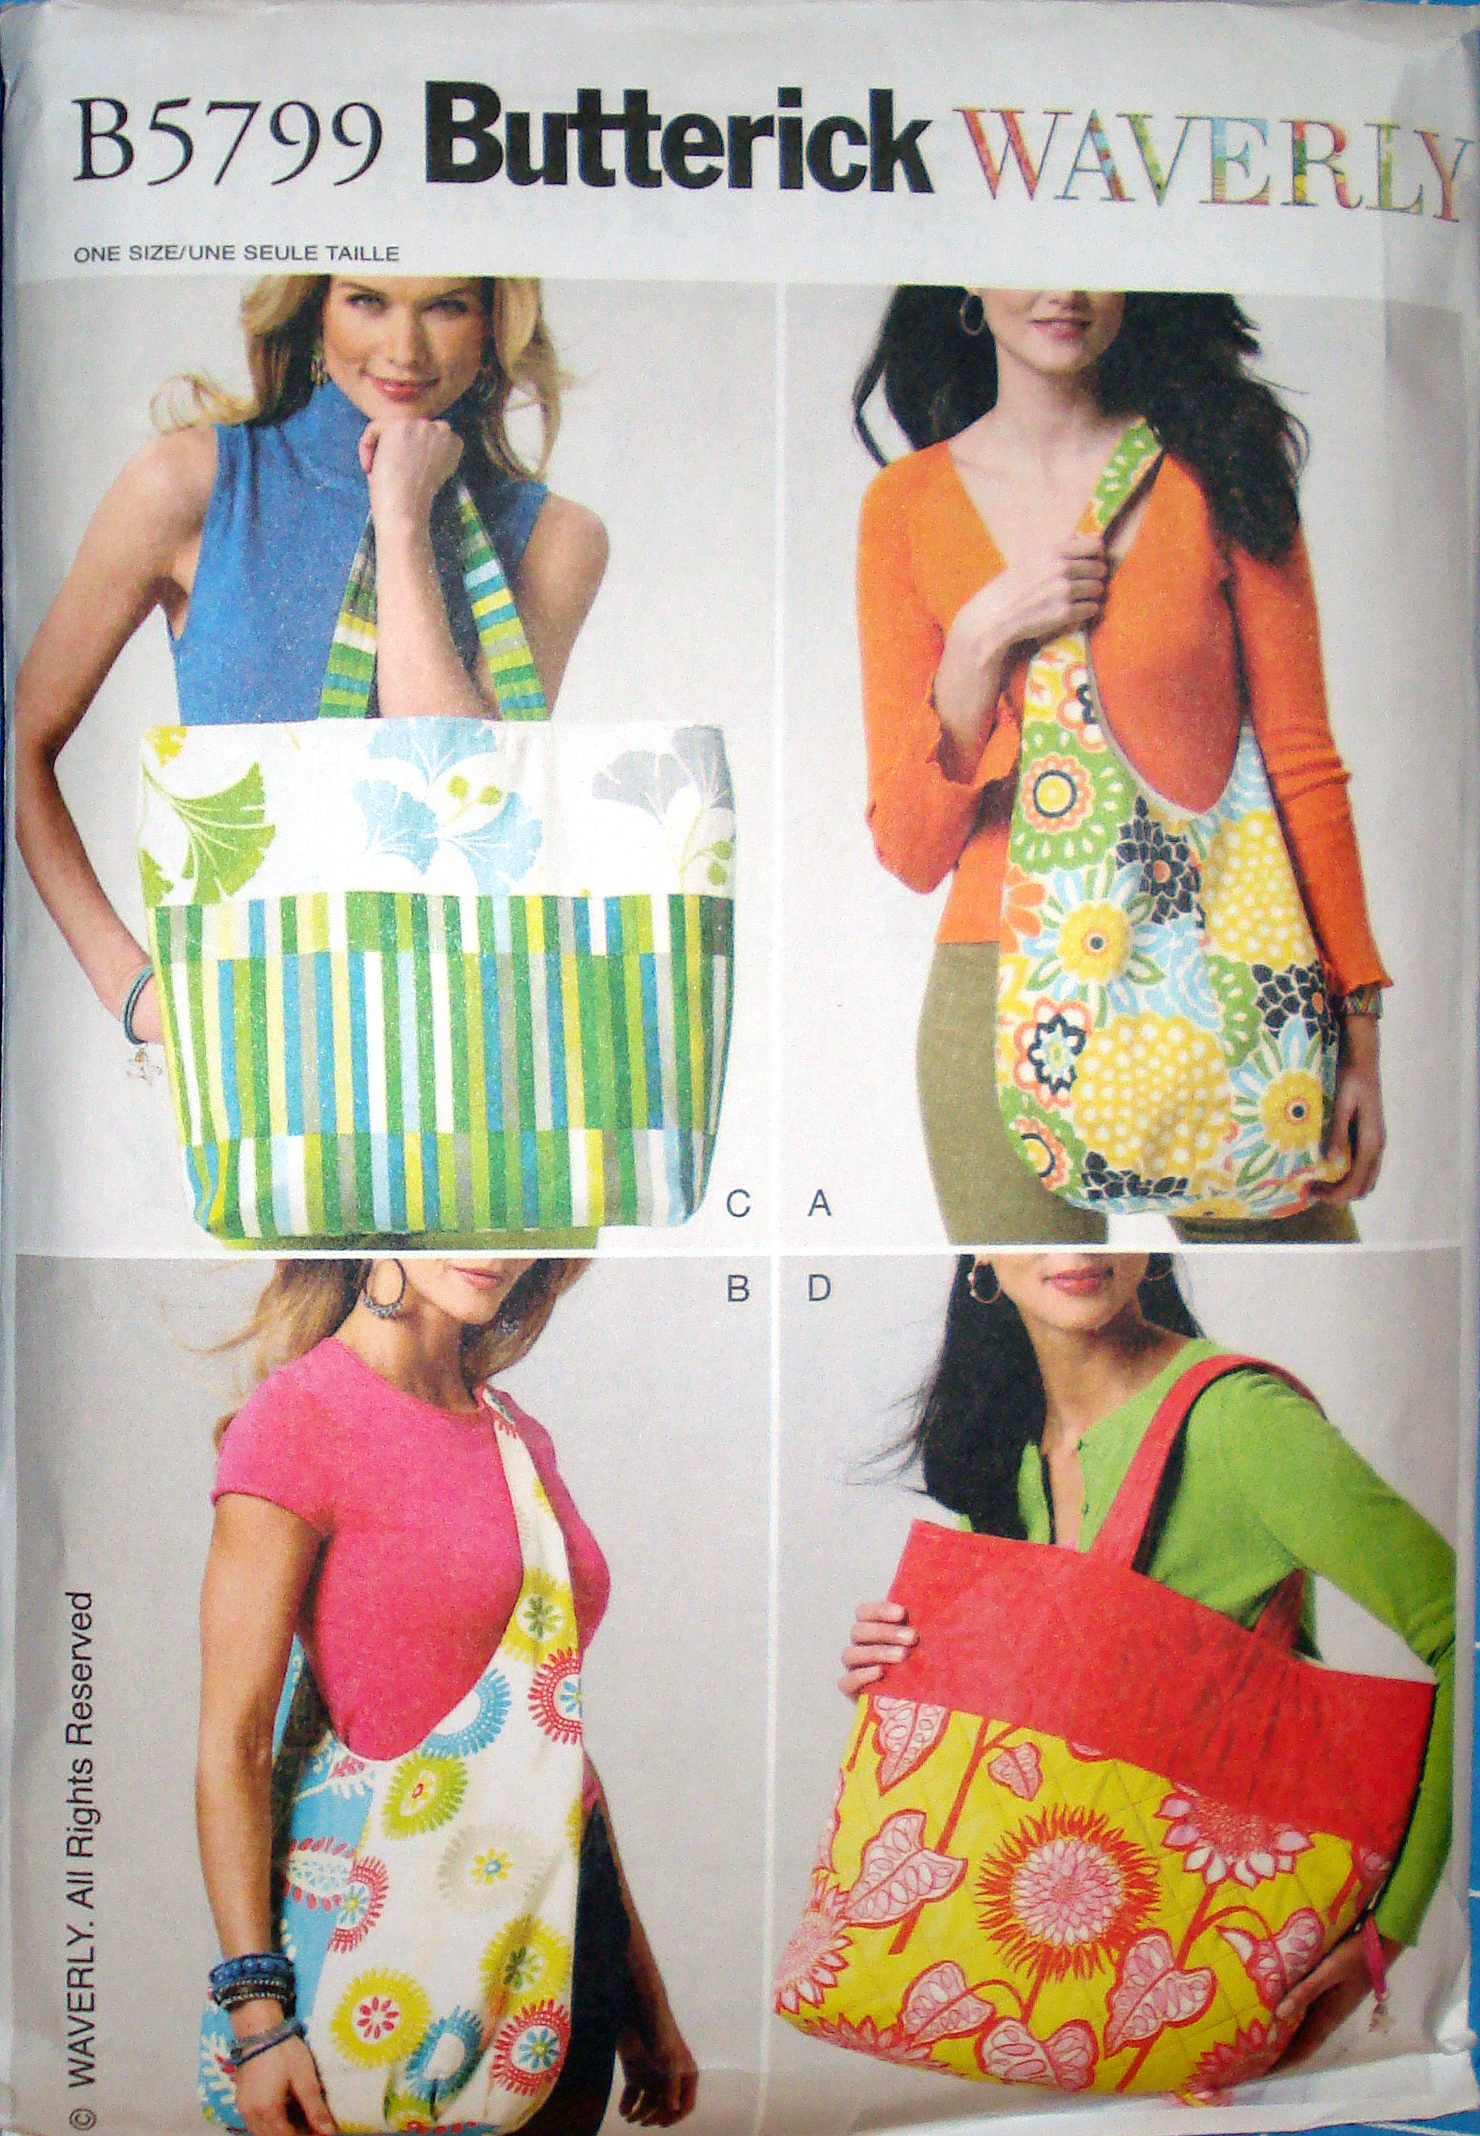
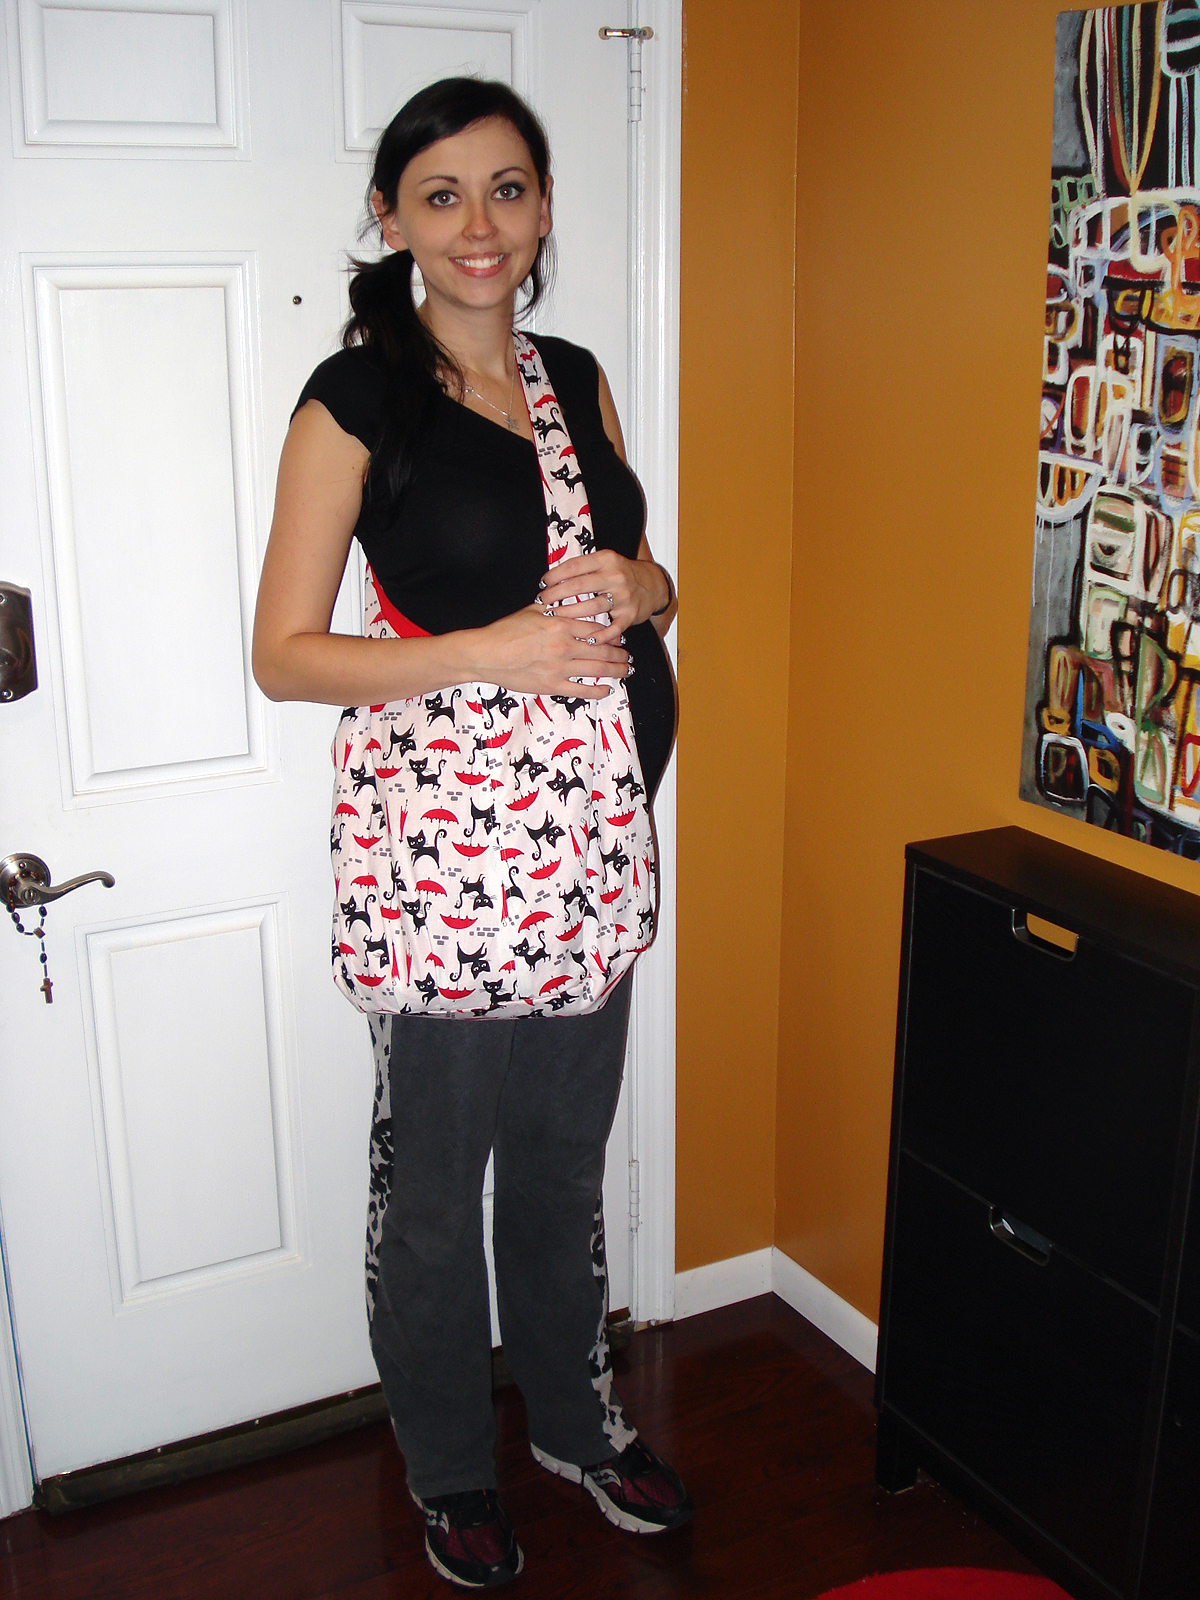
Since I’m getting closer and closer to my due date, I choose a simple project for November’s Minerva Crafts Blogger Network. I choose Butterick B5799 Waverly (View A) because I love a large slouchy bag. This one is perfect for the gym, going to the beach (if you are lucky enough to have one near you), or apparently carrying around a lazy dog (see below).
I searched around Minerva for a fabric that caught my eye and came across probably the cutest fabric ever made: Cat with Red Umbrella! I’m seriously in love with it and want to make a cute 50’s dress from it when I get my body back after baby. For the inside I used plain red stretch cotton. From now on anytime I use a plain cotton fabric, I’ll be using this stuff – it’s fantastic to sew with.
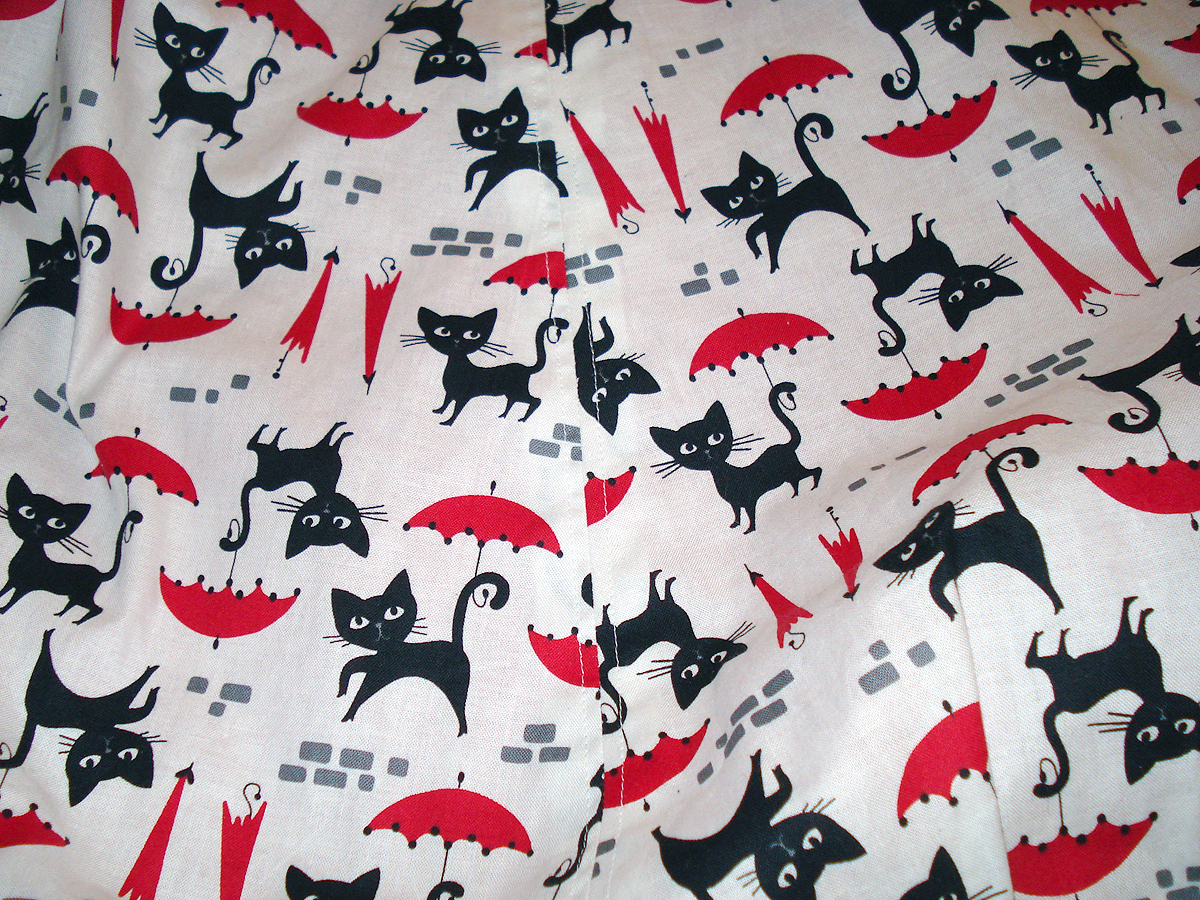
I also made this bag with my Mom in mind. I’ve been wanting to make her something for awhile and this is right up her alley. She also loves black and white like I do (I got it from her) but she likes to add a pop of red. She also loves kitties – so this was perfect! I haven’t told her this is for her yet, but I guess she will find out when she reads my blog!
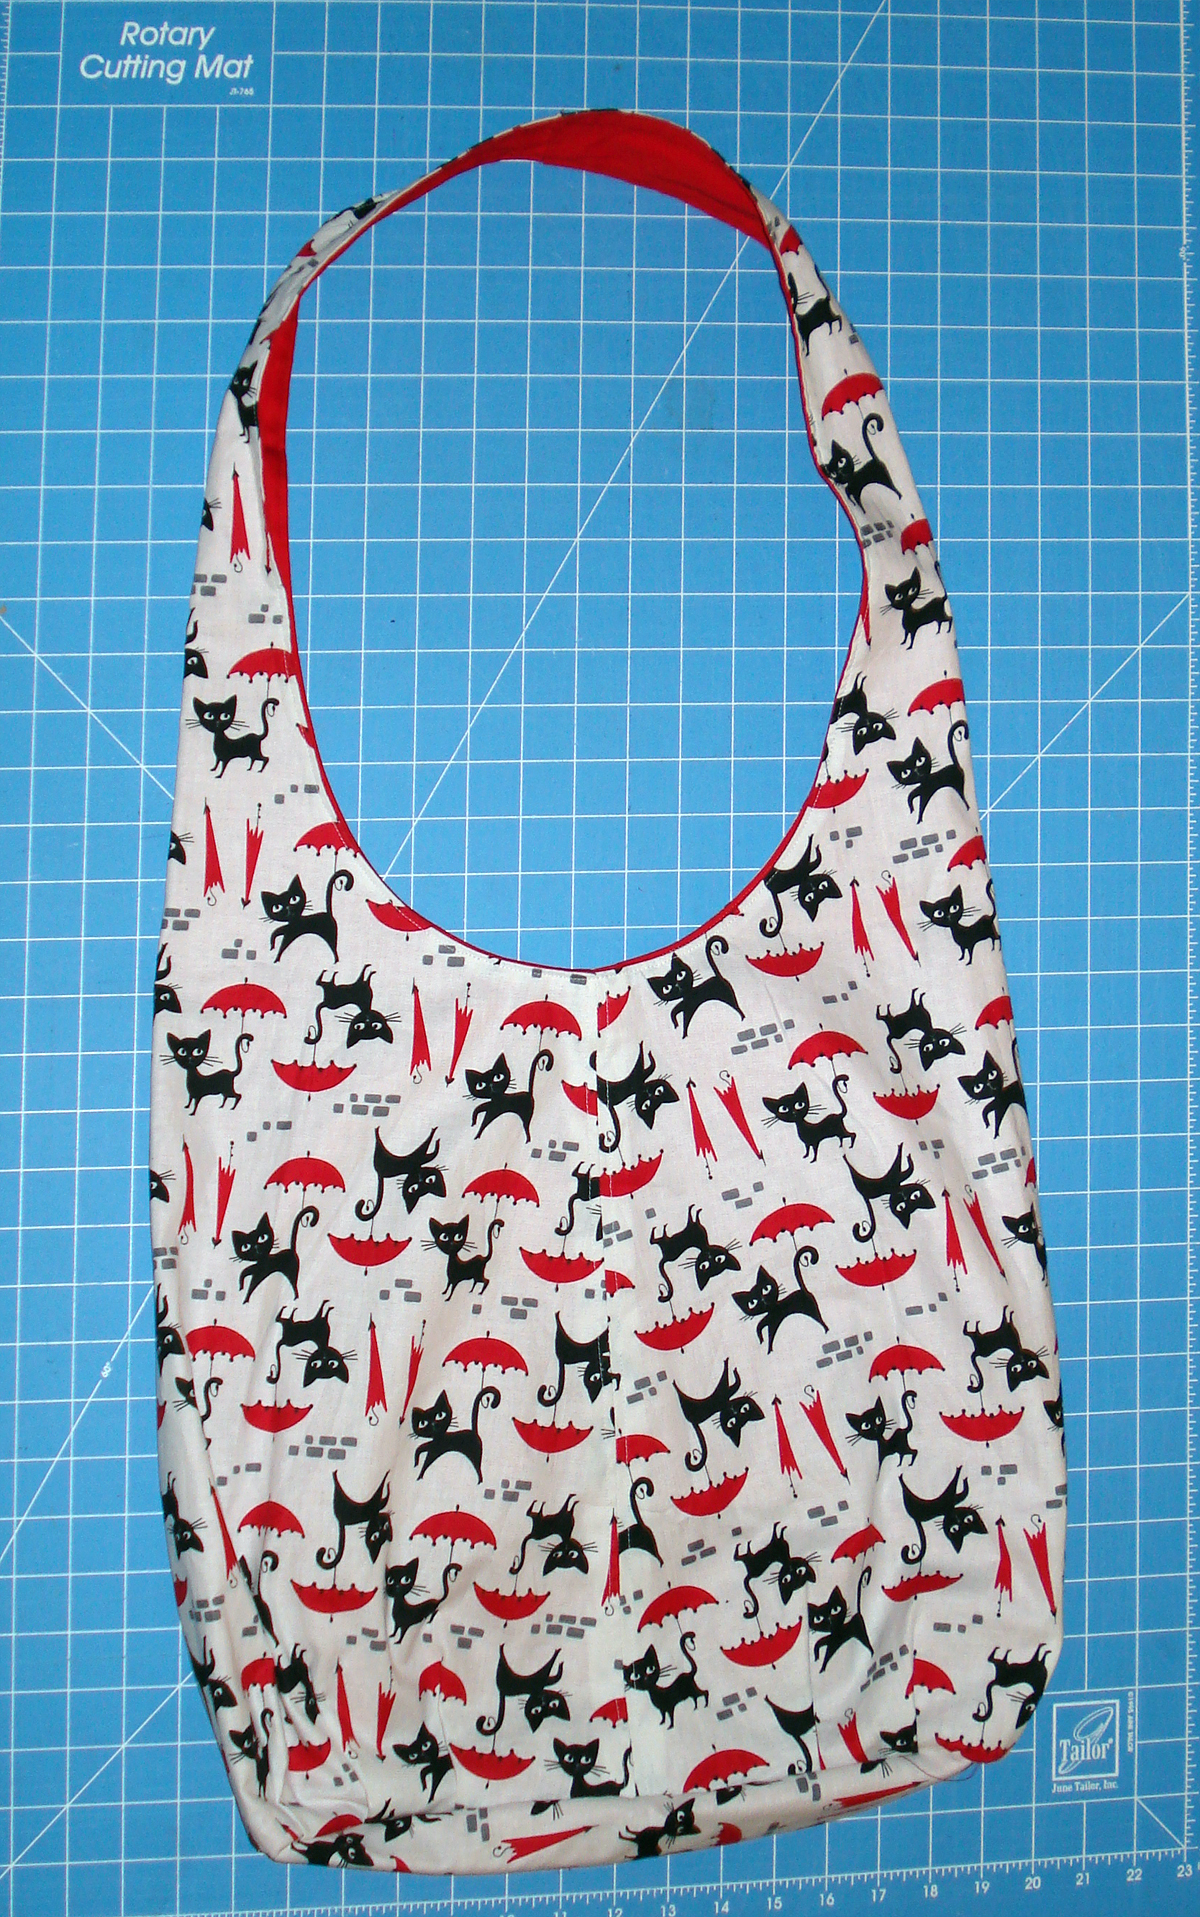
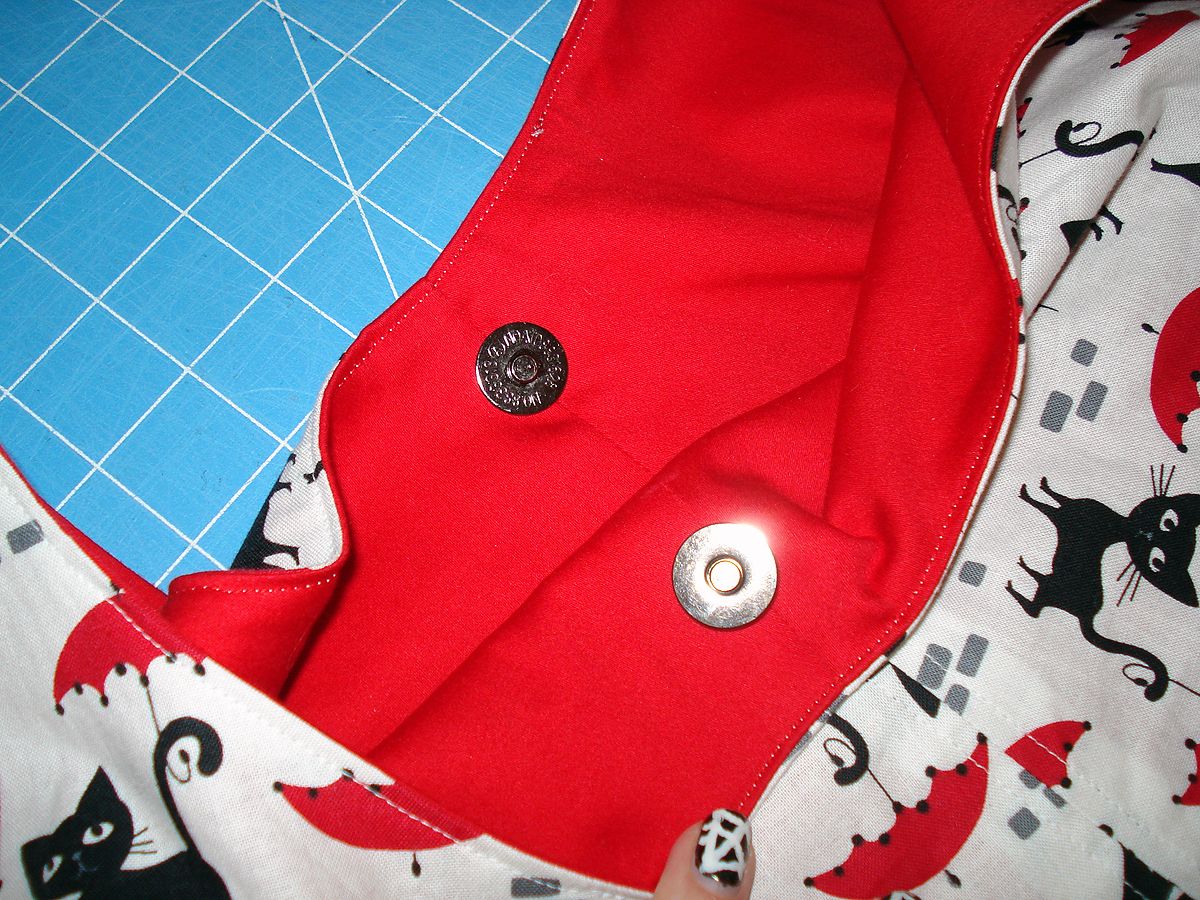
I gotta say, this pattern is SUPER EASY and I LOVE IT! I plan on making these as gifts, making one for the dog, making one in canvas, just making tons of them! I’m even wondering how it would look a little smaller and in leather. It’s super simple and turned out awesome. I did make some adjustments though. First off I added a magnetic closure to the top of the bag. To do this you’ll need 2 square pieces of interfacing (1 1/2 inches x 1 1/2 inches) 1 inch down from the raw edge on the lining. Make sure to iron this onto the wrong side of the lining. After that I marked 1/2 inch down from the interfacing and cut 2 slits (use the closure as a guide) and then popped in the closure on each side. Here’s a good video to help explain the process. She didn’t use interfacing because her fabric is canvas. But I recommend interfacing either way, better safe than sorry!
My magnetic closure:
I also added a zippered pocket on the inside. What’s a bag without inside pockets?! I think on the next one I’ll add a zippered pocket to the outside and a cell phone pocket to the other side of the inside. After sewing the right and left side of the lining together you’ll want to start on the zippered pocket next. Make sure to do this before doing the pleats on the bottom. The zipper I ordered was 8 inches long, so I made my opening 7 1/4 inches long, 1/2 inch wide and 3 1/4 inches down from the raw edge. Make sure the zipper will be centered, you can use the middle lining seam to help guide with centering. You can make the pocket lining whatever size you would like. I cut mine at 12 inches wide by 16 inches tall. You’ll fold this up so the height is actually only 8 inches. I used a tutorial from so-sew-easy.com. Adding a zippered pocket is a lot easier than you may think! Here is a video of the tutorial:
My zipper pocket:

Even with adding these alternations, the bag is super quick and simple to make. You can cut out the pattern and make the whole bag in a few hours. I can’t wait to make more of these. The most comfortable way to wear it is as a crossbody, but just on the shoulder works too!
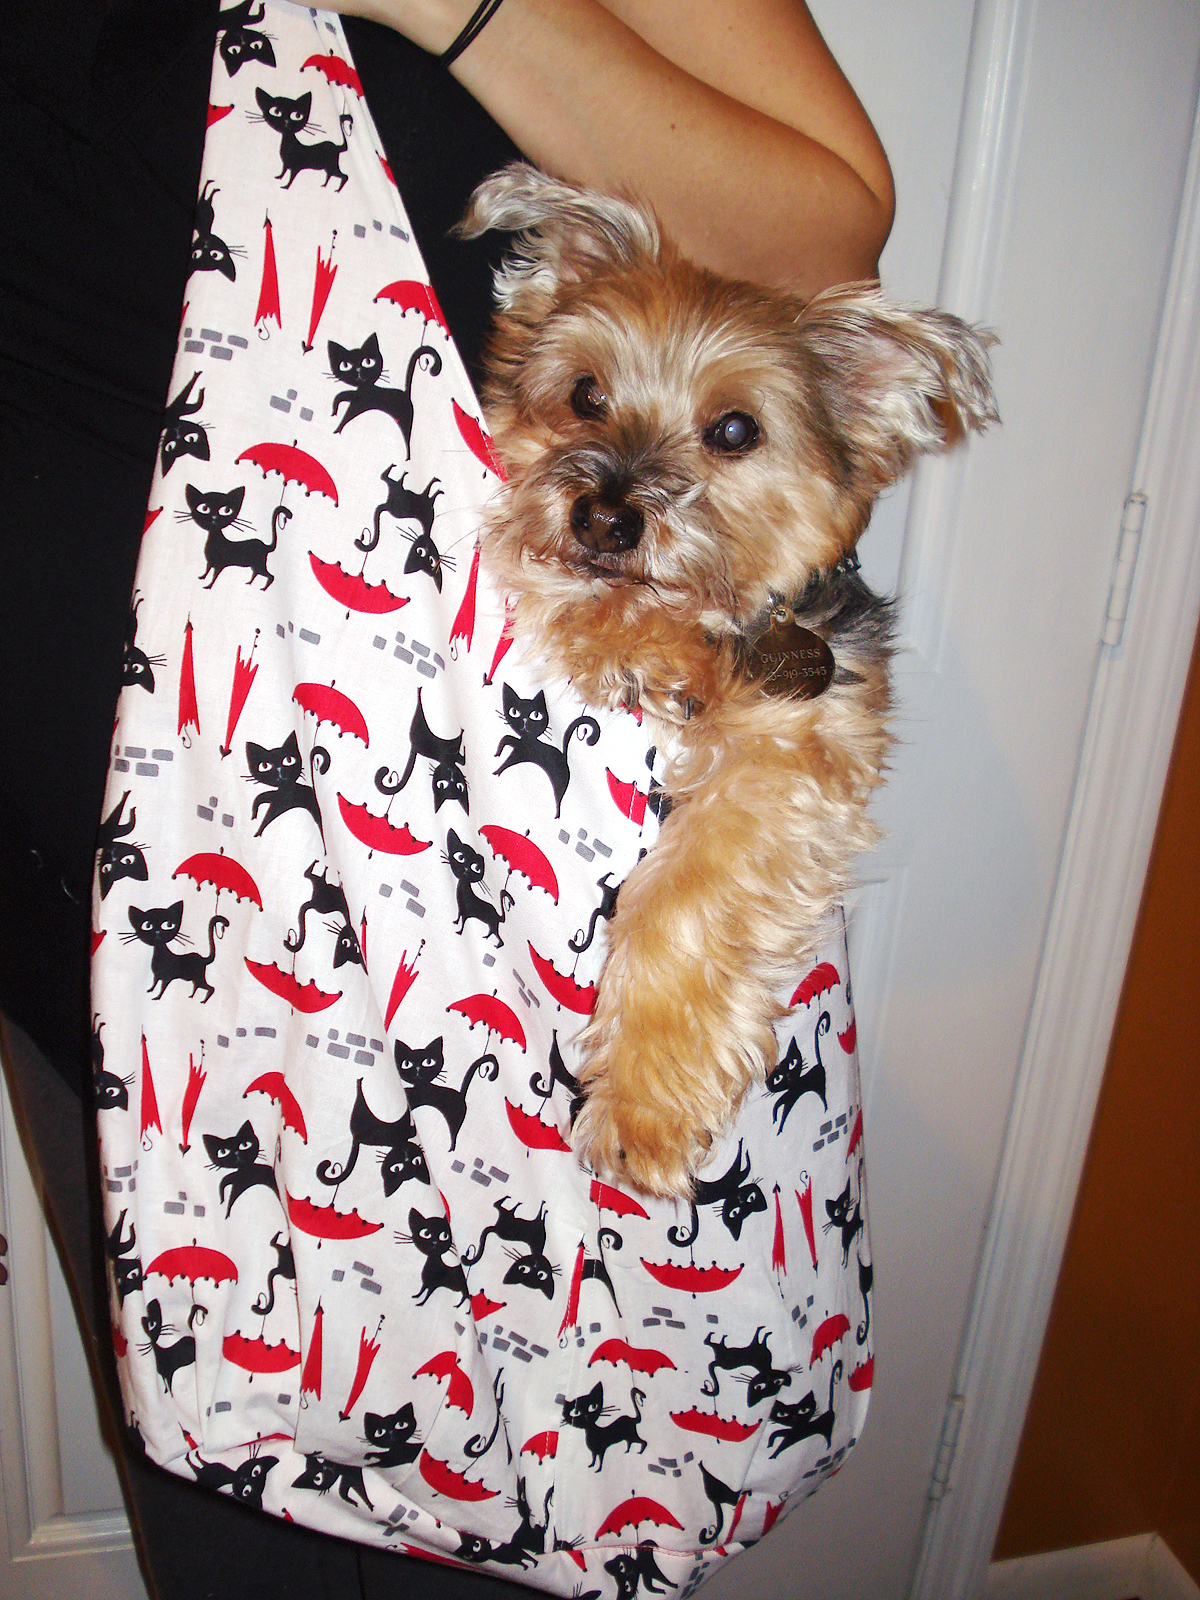
As easy as this bag is, make sure to read the directions! I won’t lie, sewing with pregnancy brain is a really difficult task! I notice I always screw something up or forget an obvious step. In this case, step #5 – sewing the bottom of the bag. I totally missed this and then wondered why the directions forgot to tell you how to add the bottom! So as the last step I added the bottom on, first time I added it sideways, had to unpick it (it was even serged!) and then put it on the correct way. If I would have done this in the correct order you should have never seen an inside seam anywhere in my bag, but now you can see it when you look inside. I forgot to take a picture of that. Oh well, it turned out awesome and Guinness was ecstatic to hang out in it. When I laid the bag down, he didn’t even get out!
Hahaha, Guinness is so cute in the bag. My puppy loves to be carried around too. She’s such a princess. Love the fabric on this bag, your mom will be loving it too!
OH YES….I love it…when do I get it? lol love the whole idea…color and all….you did a great job….love u and the baby bump : )
Good! I’ll be bringing it to you soon 🙂 Love you too!