
This is the first time I’ve made all views of a pattern. Granted, there are only 2 views on this one, but STILL! First time around I made view A, the baby sling, but Nikolai grew out of that way too fast. I only used it once he had great neck control and I could wear him on my hip but even with making the size large he was to big for it. Overall he isn’t into being worn unless he can face front and look at the world. He likes his Baby Bjorn but it takes up so much room that I decided to try out a Mei Tai (view B).
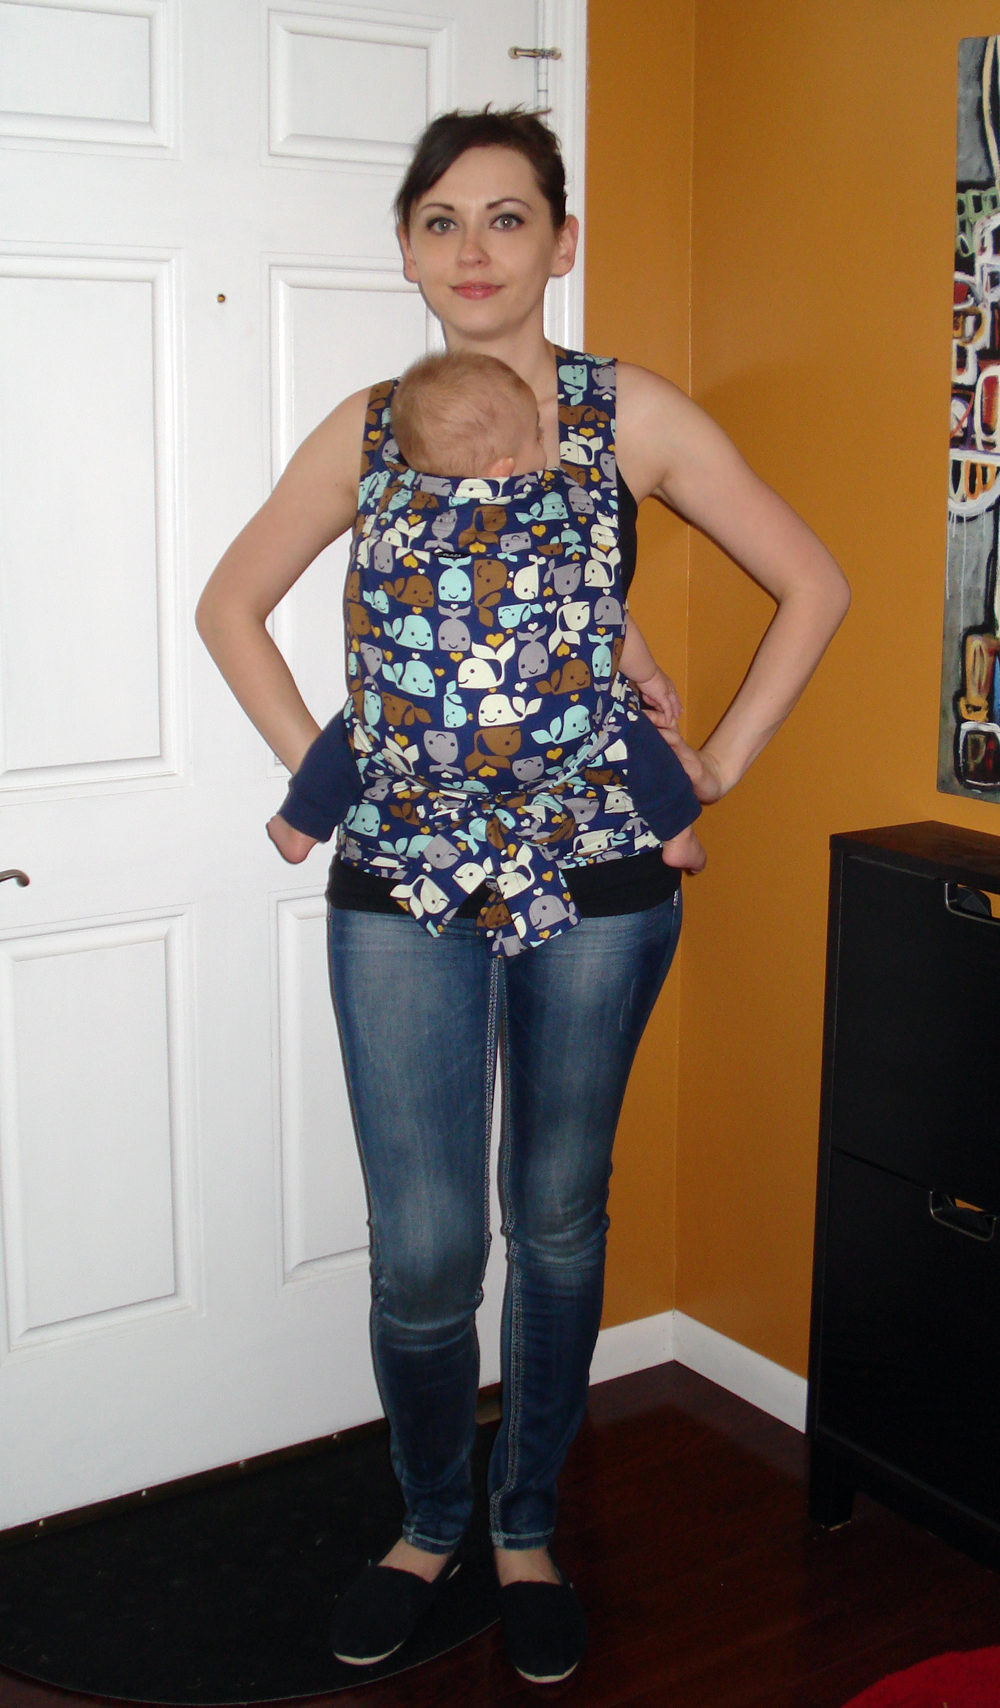
Mei Tai’s are Chinese baby carriers. They have a rectangular body with 4 straps coming out to tie around your shoulders and waist.
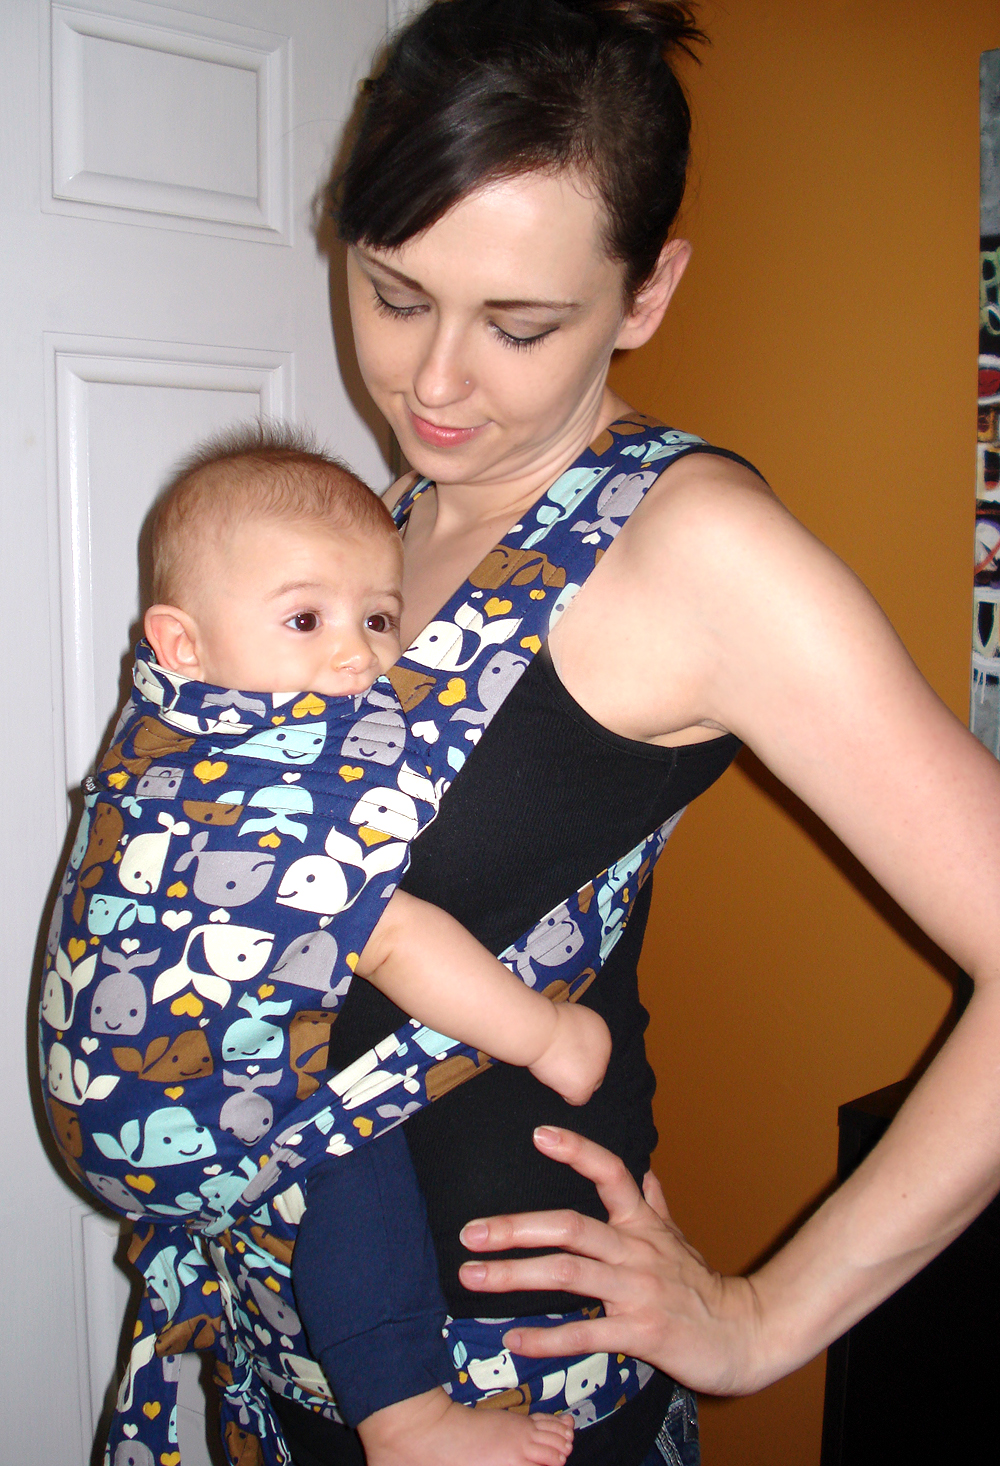
I’ve found this carrier is much more comfortable than the baby sling (view A) and more comfortable than the Baby Bjorn. Nikolai seems to like it if he can see out the sides. The first time I put him in it he fell asleep within 10 minutes!
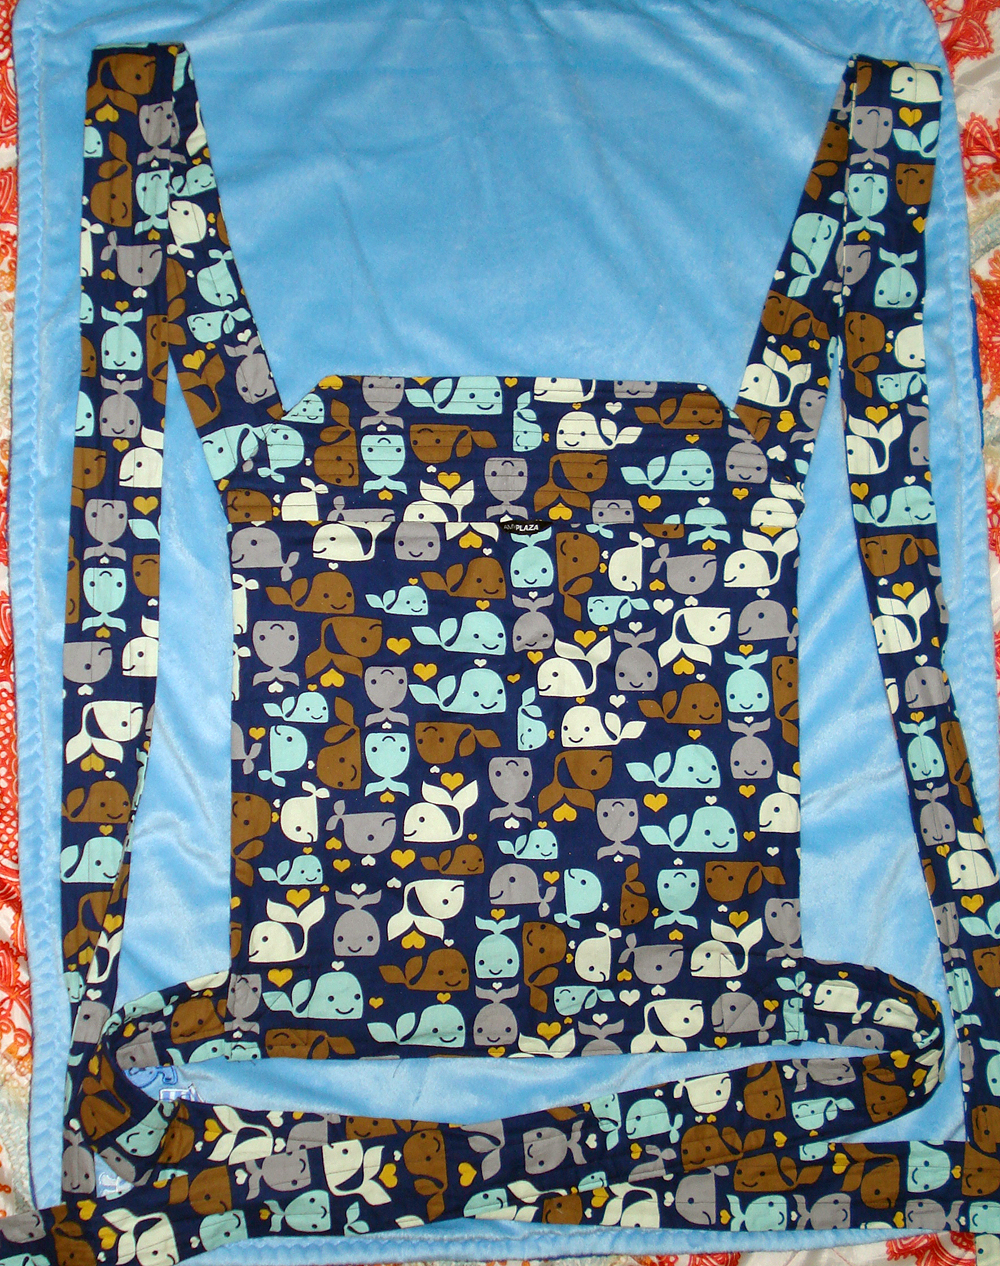
The pattern says you can use thicker fabrics like home decor but I used 100% quilters cotton. Between that, the fleece and layers I think any heavier of a fabric would be difficult to sew. Before sewing this I kept thinking I needed a heavier fabric just for safety reasons but I’m glad I went with cotton. Side note: this carrier is great for hugs!
The pattern calls for non-fusible fleece, which I had never heard of or used before. I found it in the interfacing section easily though. It’s basically just a batting and used for padding part of the straps and the seat carrier. I couldn’t fit all the pieces (mainly #7) on the amount of fleece I had so I just cut 2 pieces and added 1/2″ then sewed them together with a 1/2″ seam allowance. It worked out fine. I’d also suggest to use a walking foot with the fleece.

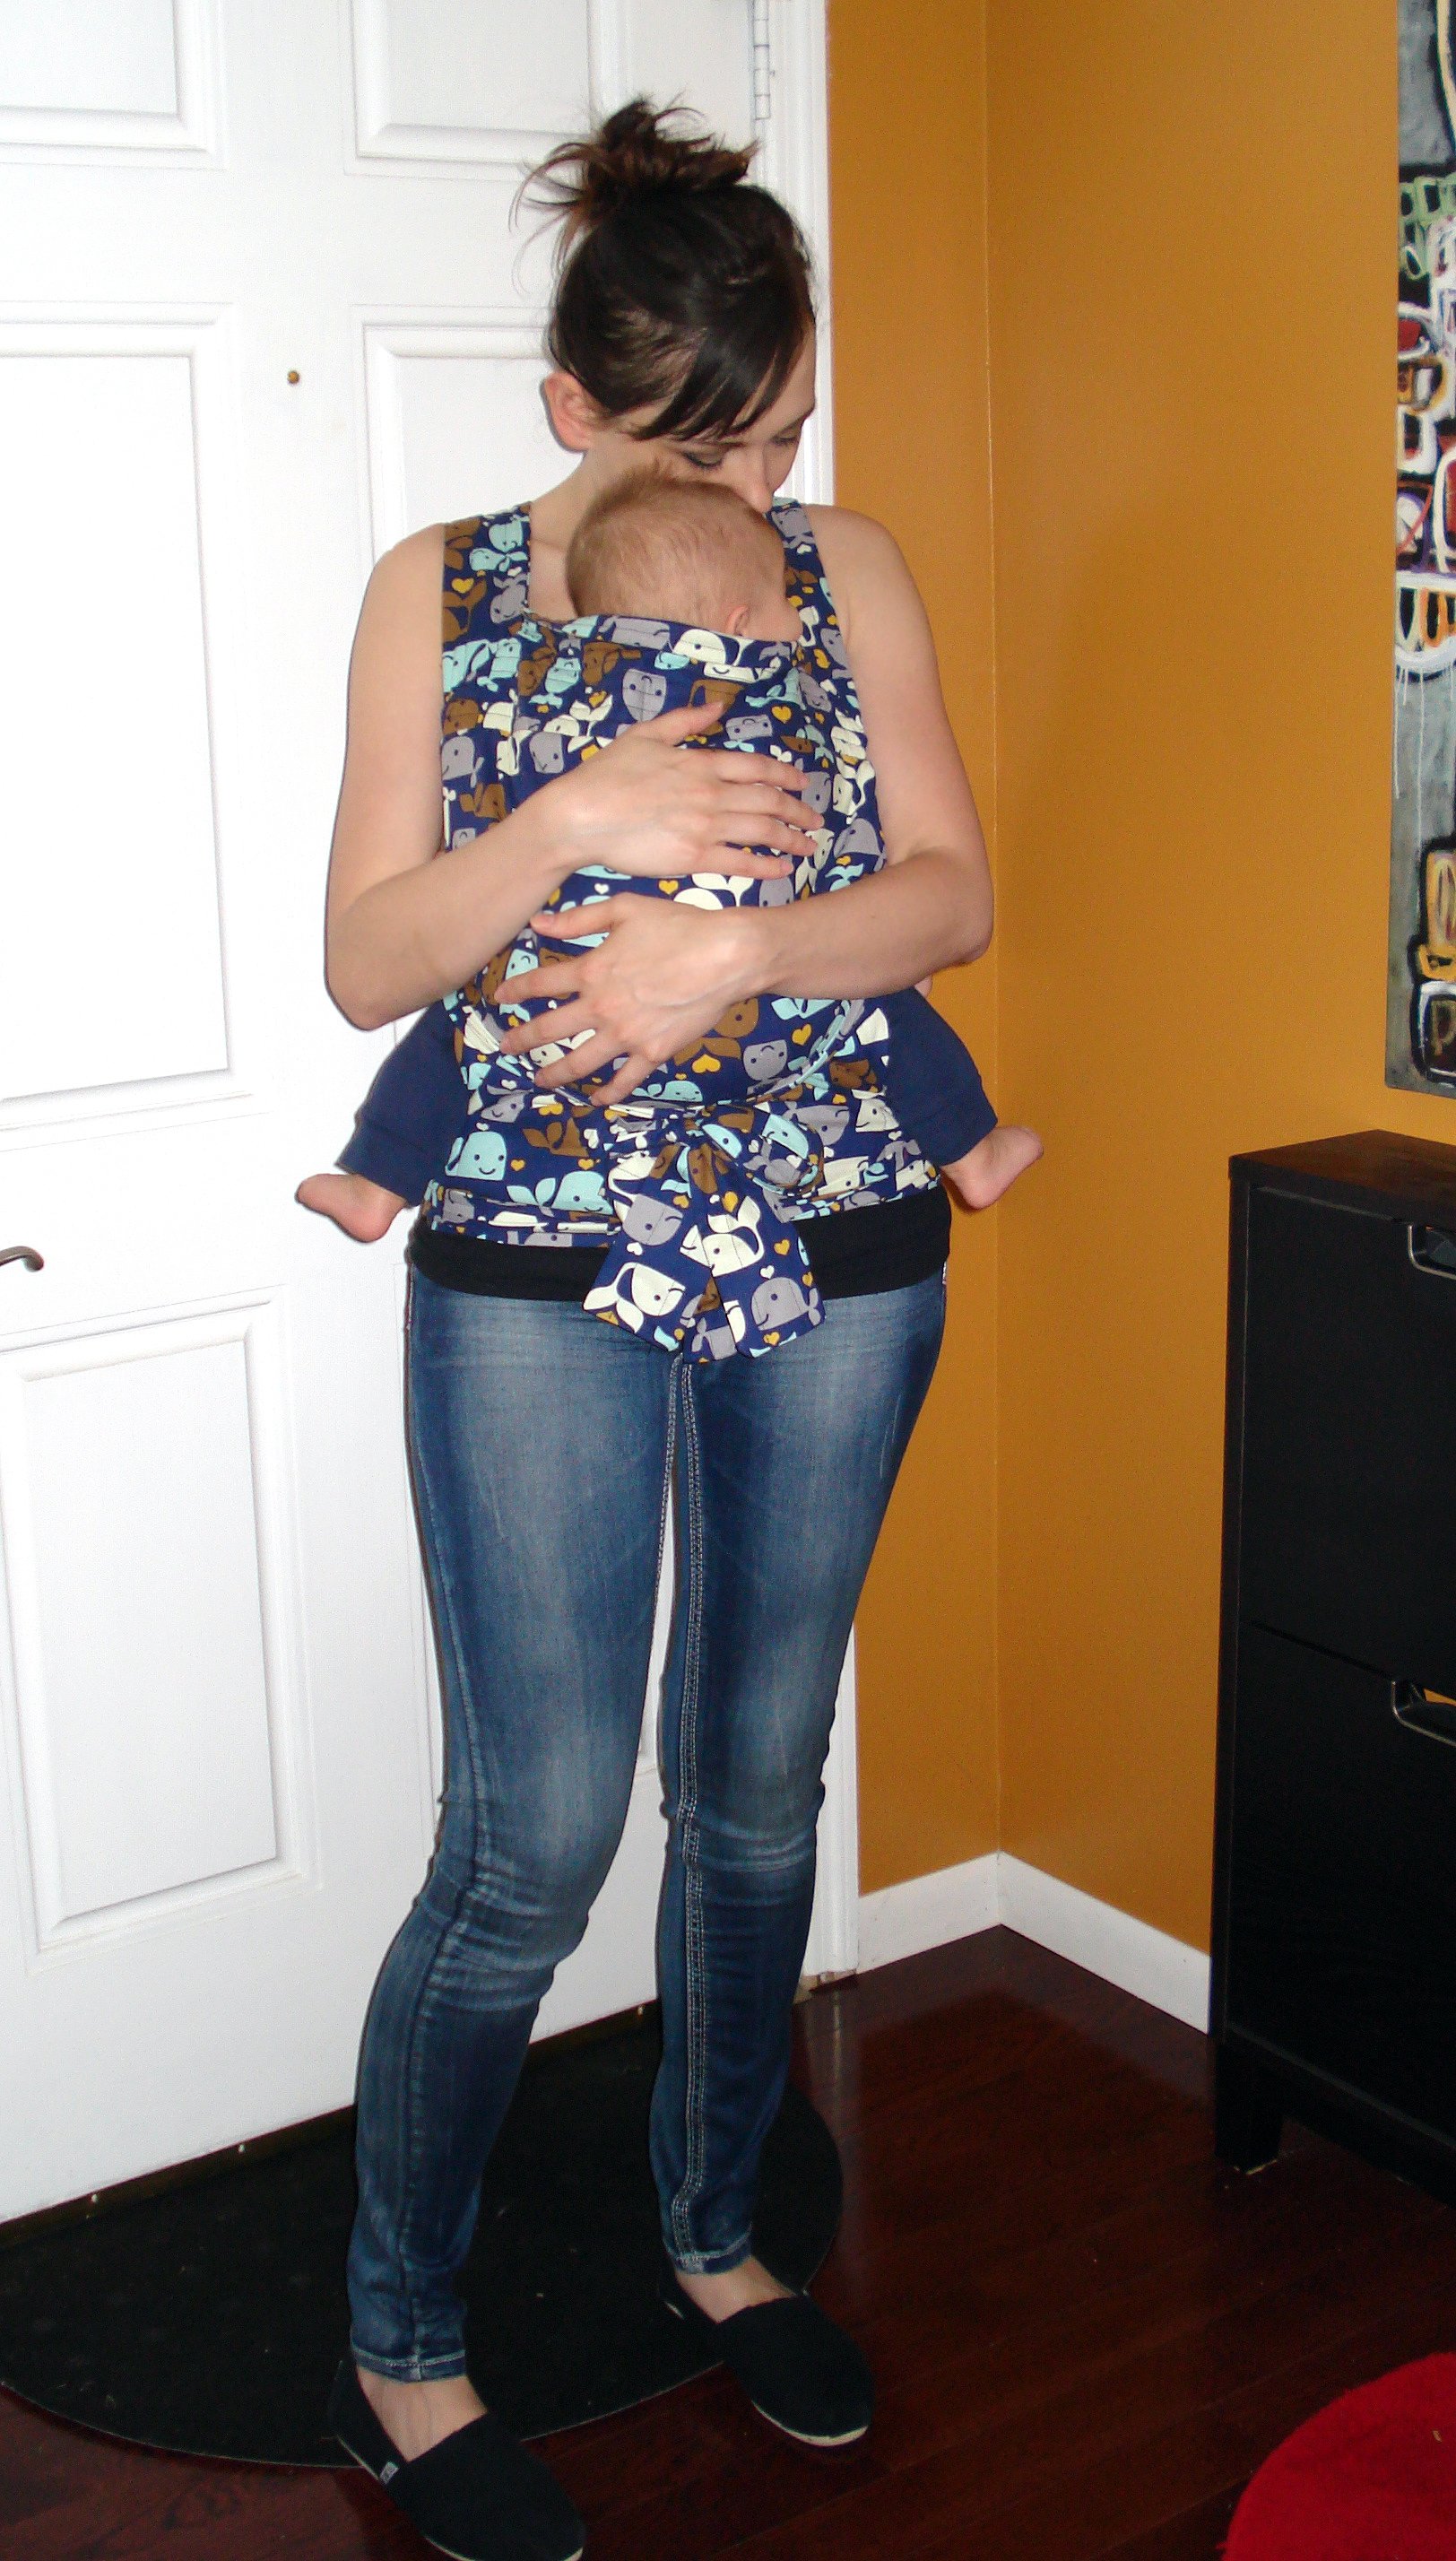
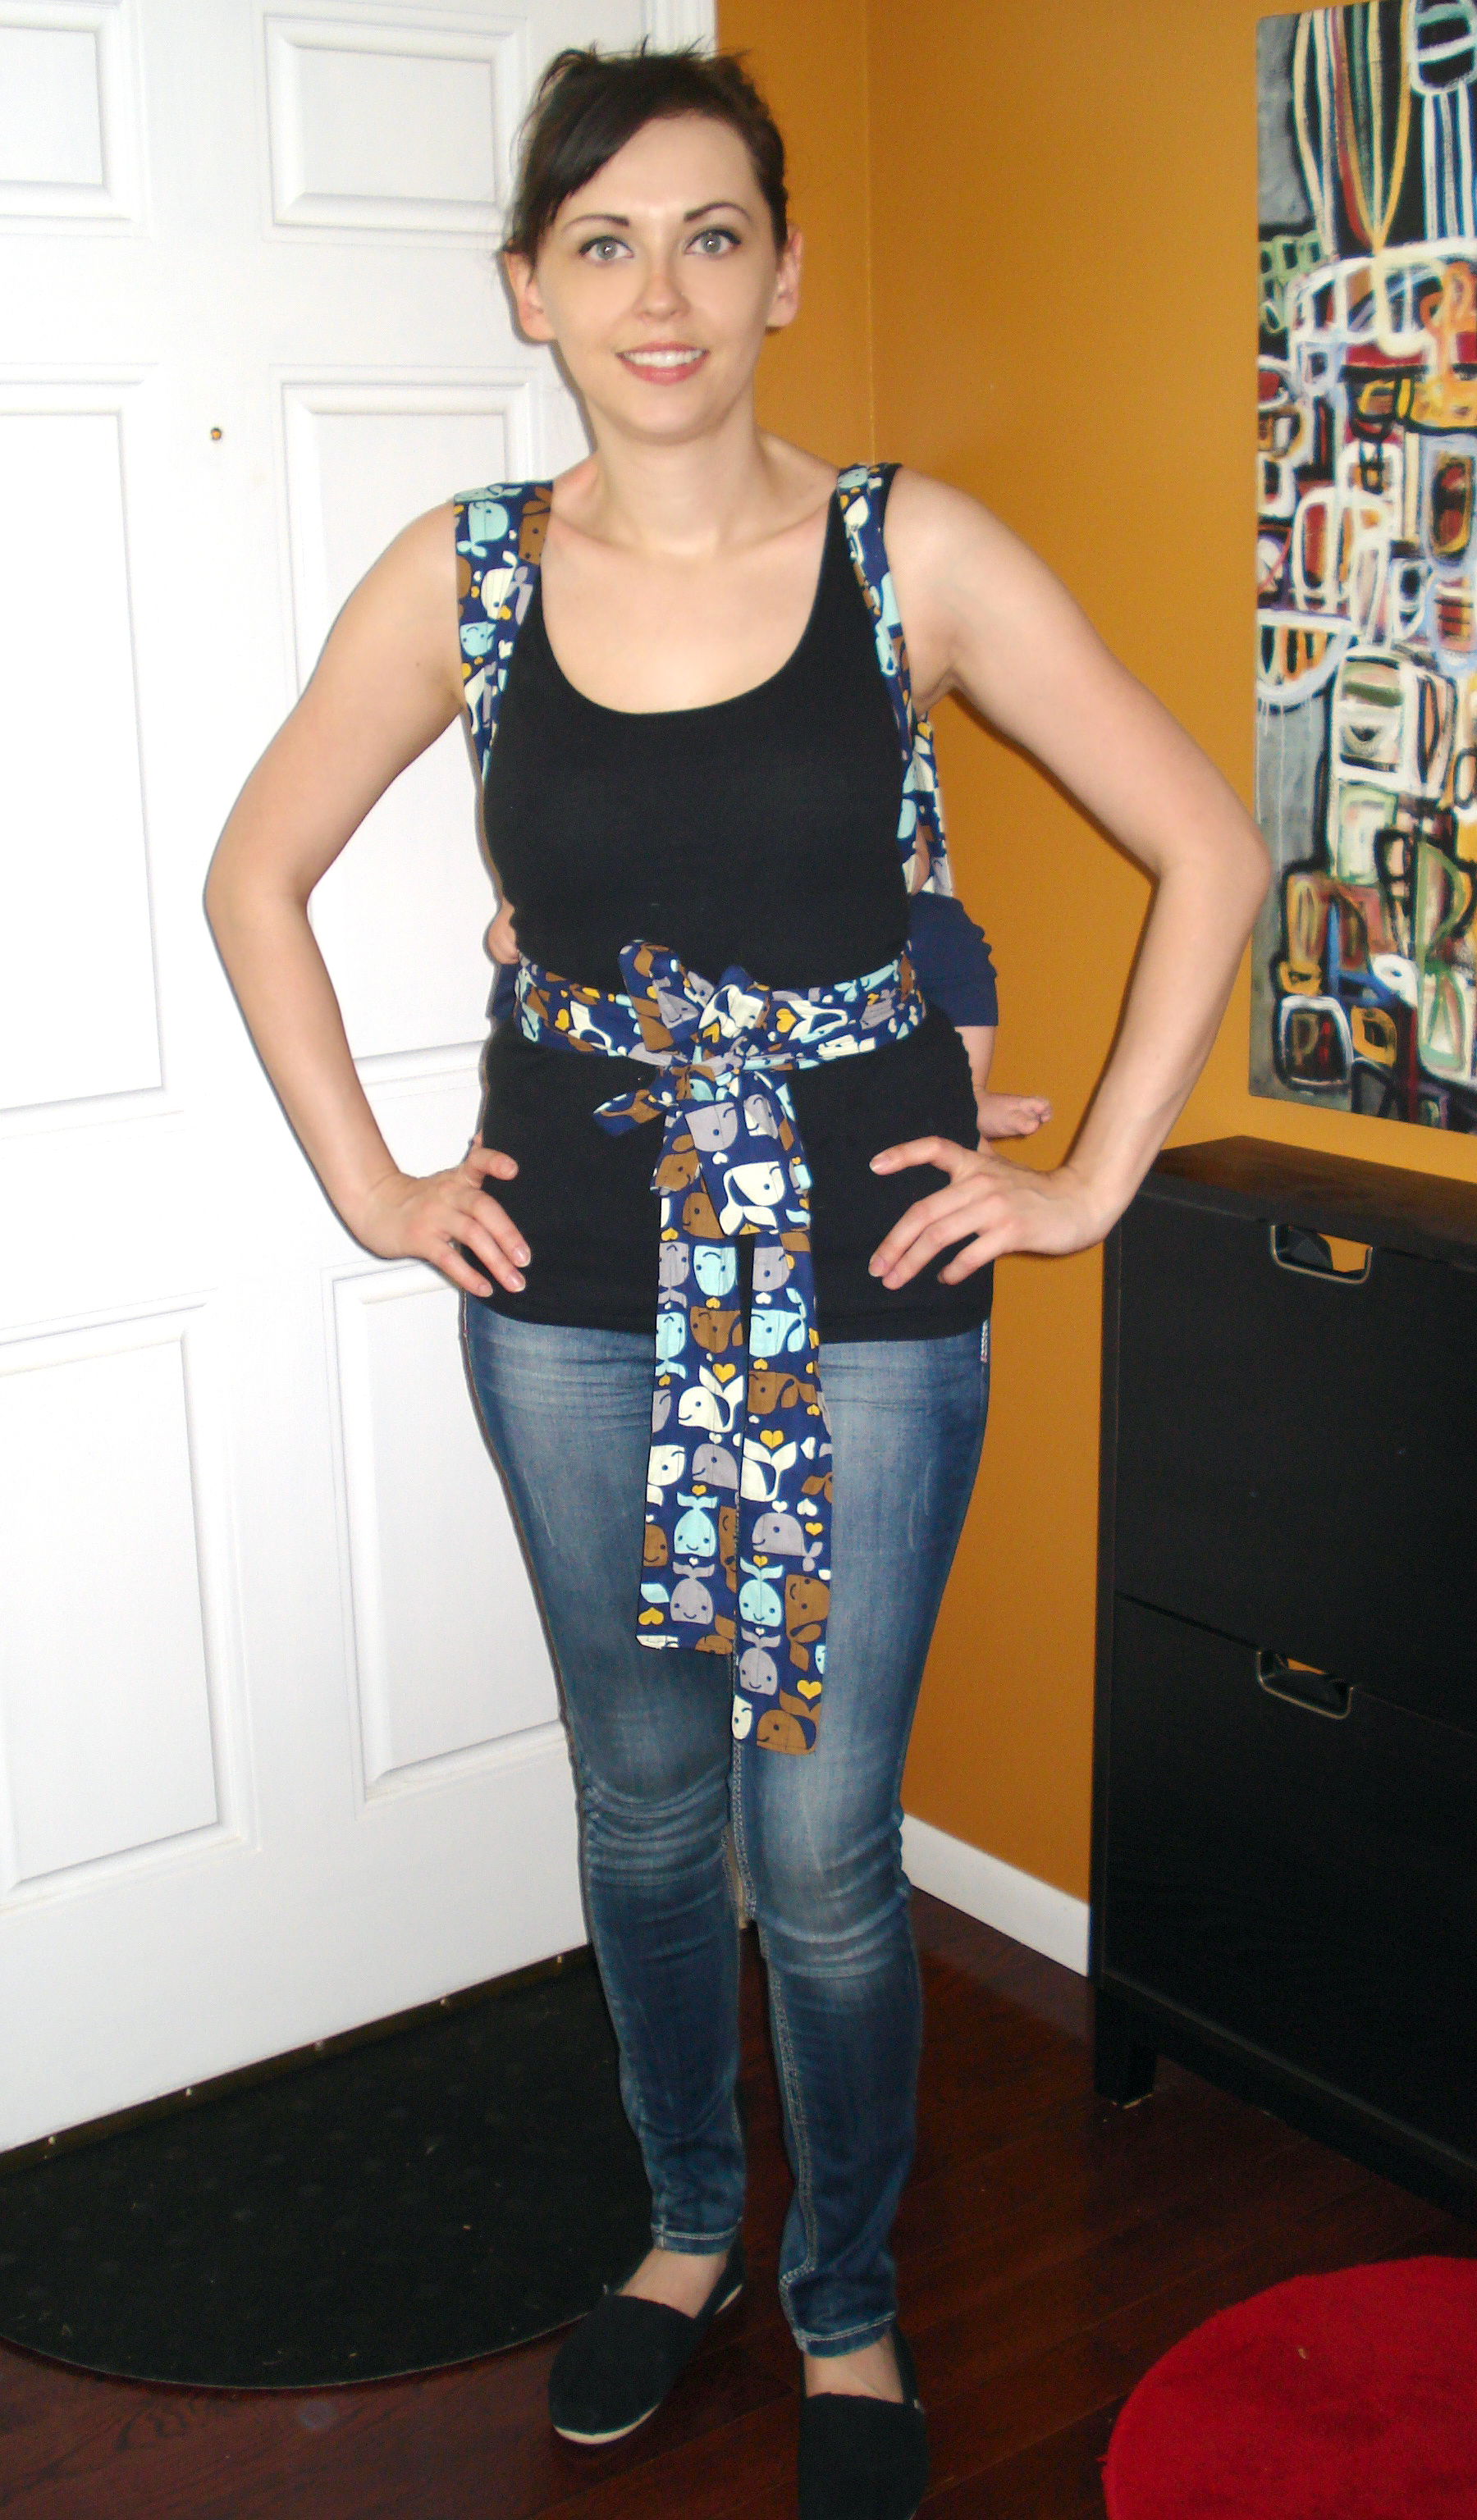
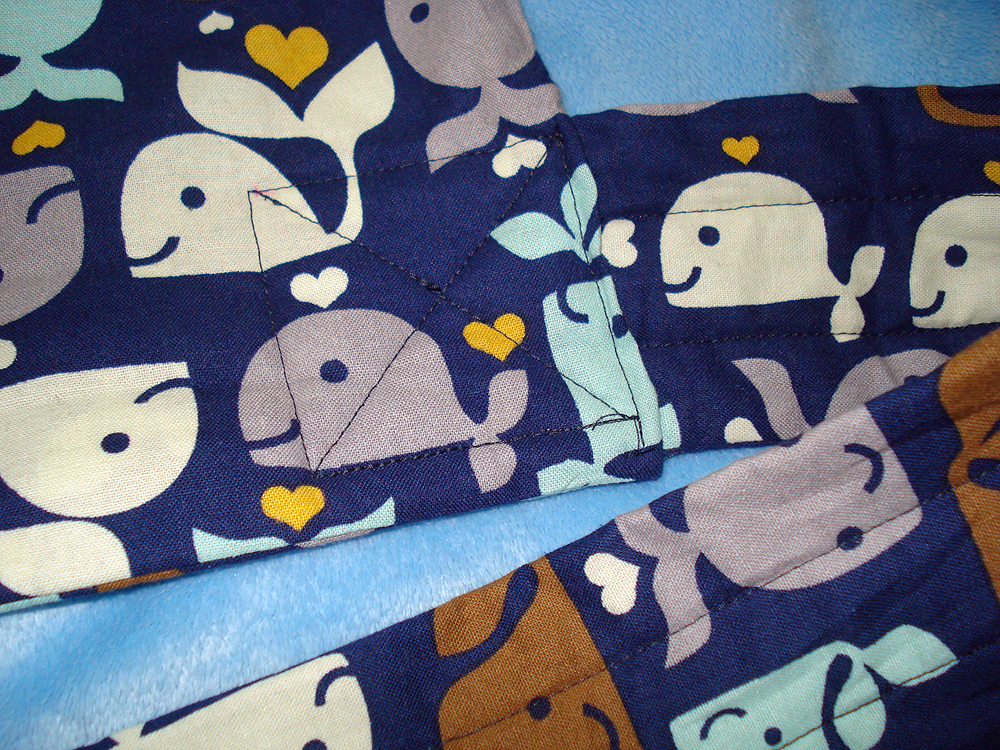
One big warning, there are different seam allowances on different parts of the pattern – so be sure to double check! Also, the straps are super long so make sure they are out of the way while sewing, or you’ll be like me and sew a strap down by accident! Oops! The pattern comes with instructions on how to tie the mei tai or you can easily check some out on YouTube. Here is a close up of where it ties underneath the baby.
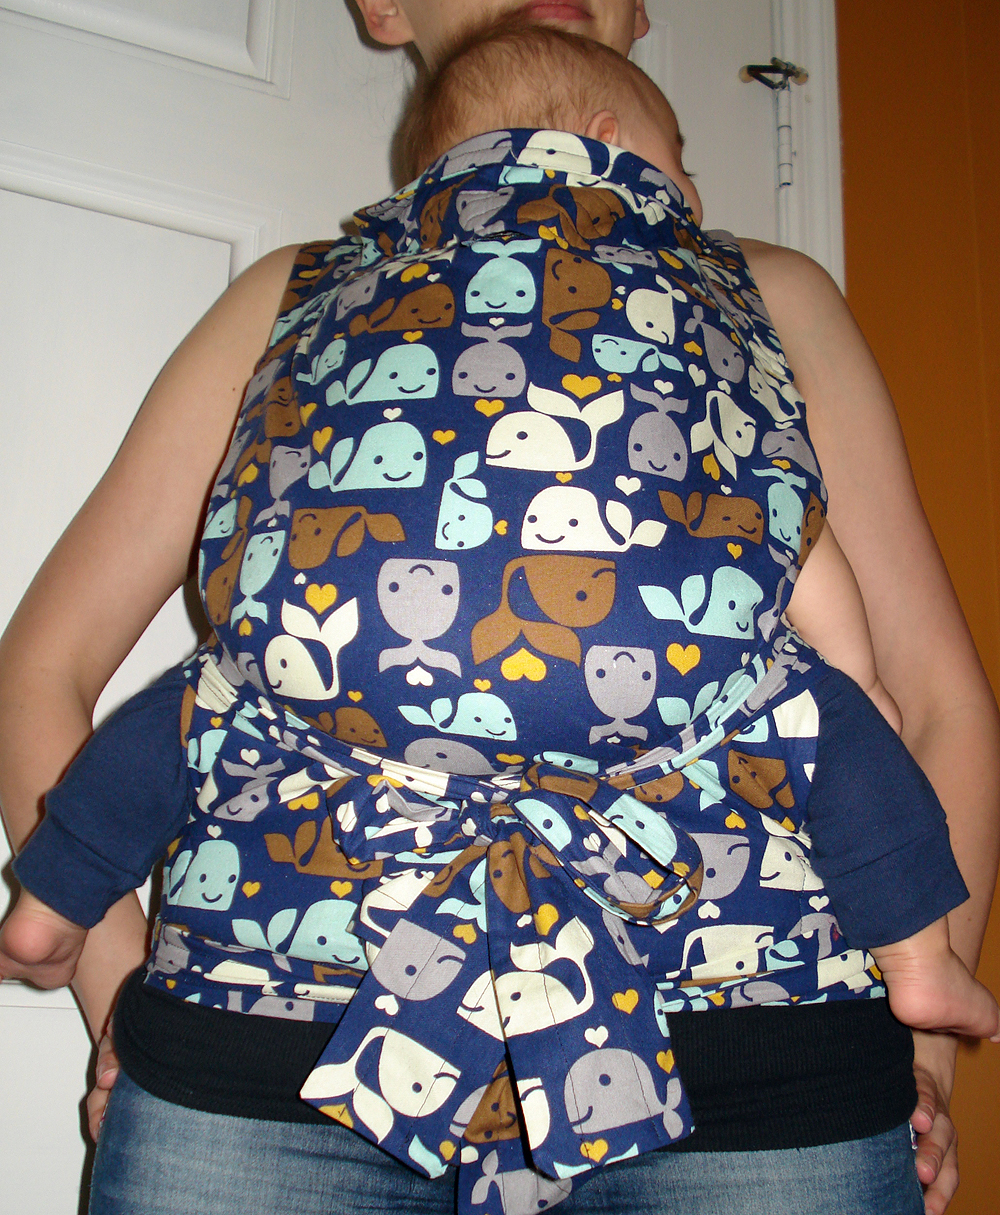
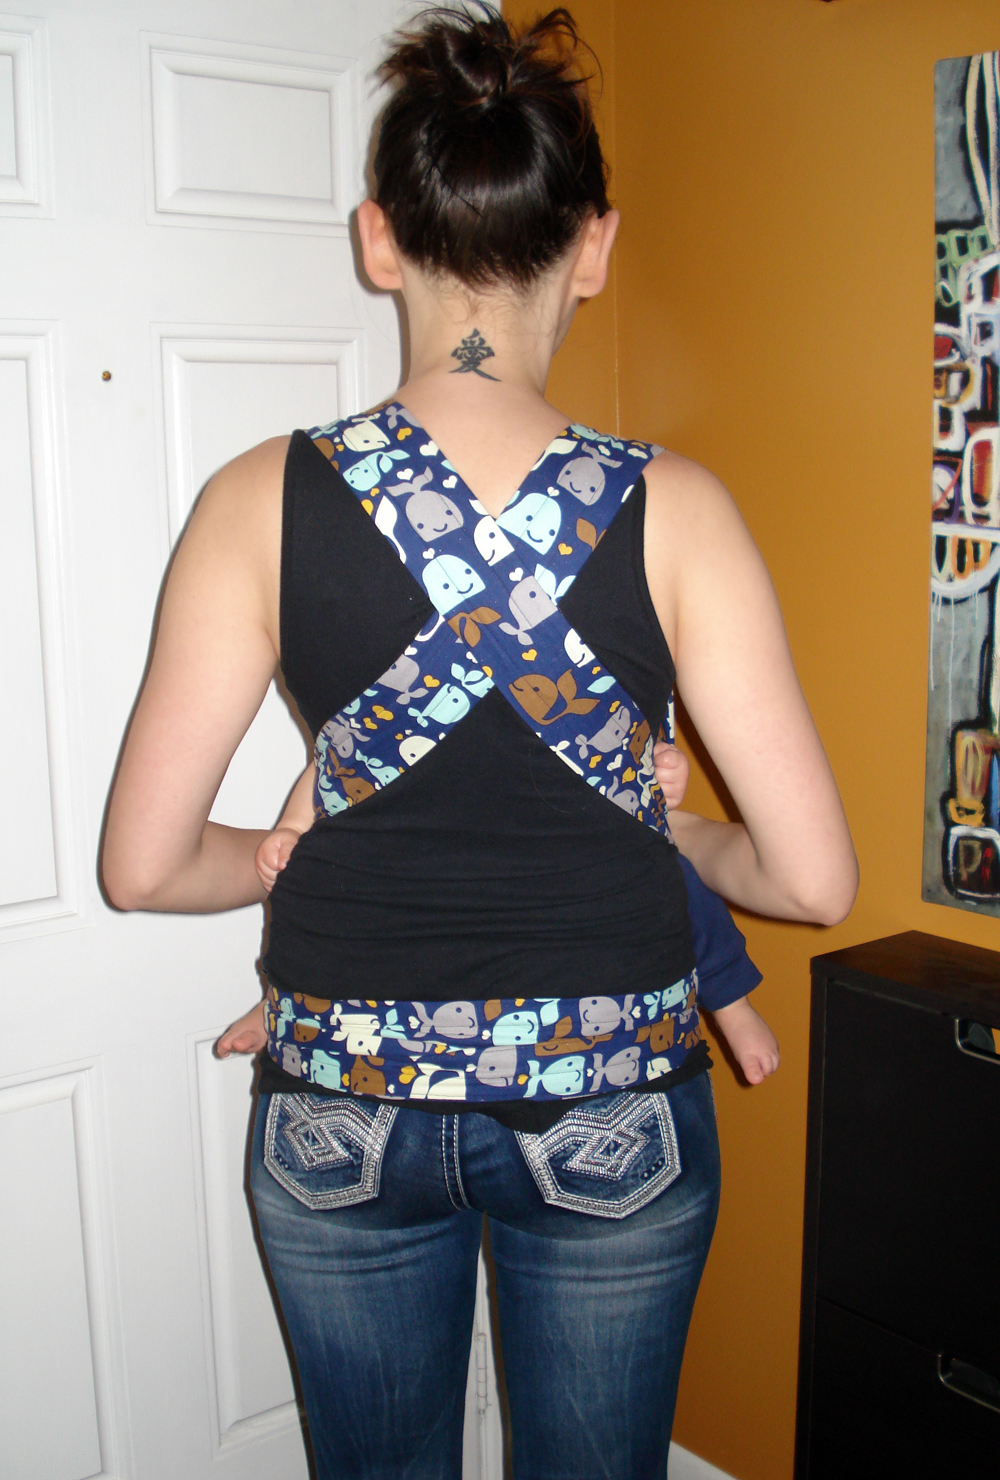
View of the back. I think the crisscross really helps even out the weight distribution on your shoulders because everything typically hurts my back and this hasn’t yet. Granted, I’ve only worn it for 45 minutes at most.
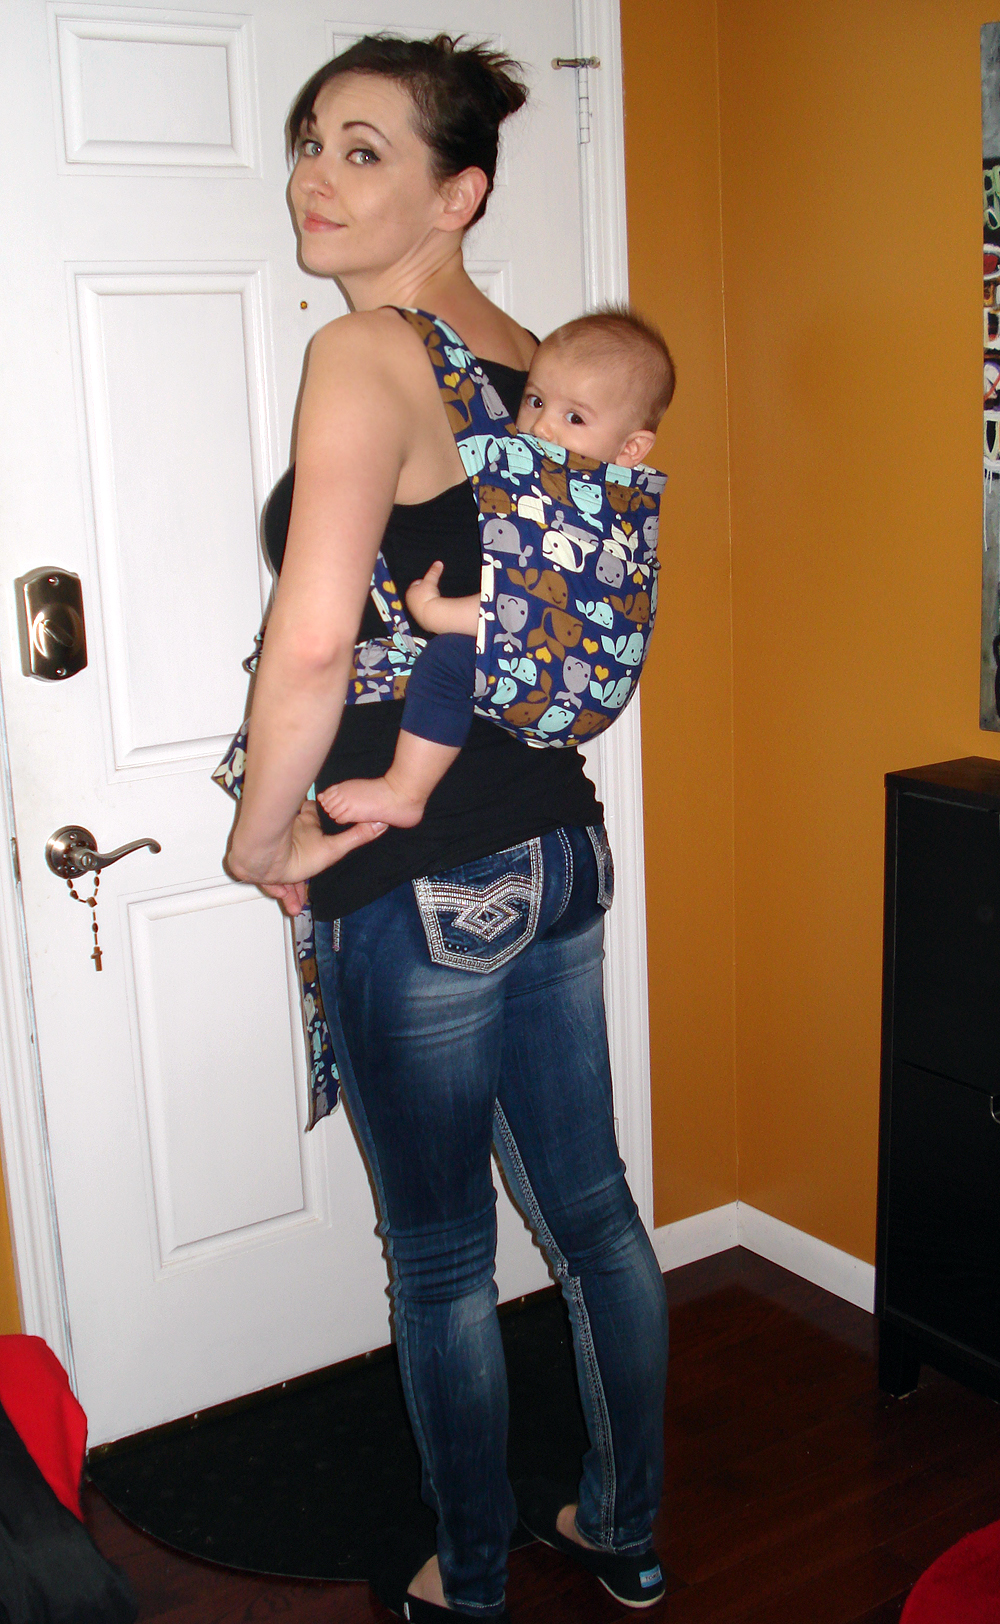
You can wear baby on the front or back. I won’t lie, I had to watch a video on wearing baby on the back. I should have taken a video of myself trying to put him on my back and tie him in safely – it was scary! I won’t be wearing him that way – it didn’t feel safe. I’m sure it’s just because it was the first time but still. I forgot to mention that when carrying baby in the front you can easily nurse him – which is a bonus! Easy and discreet 🙂
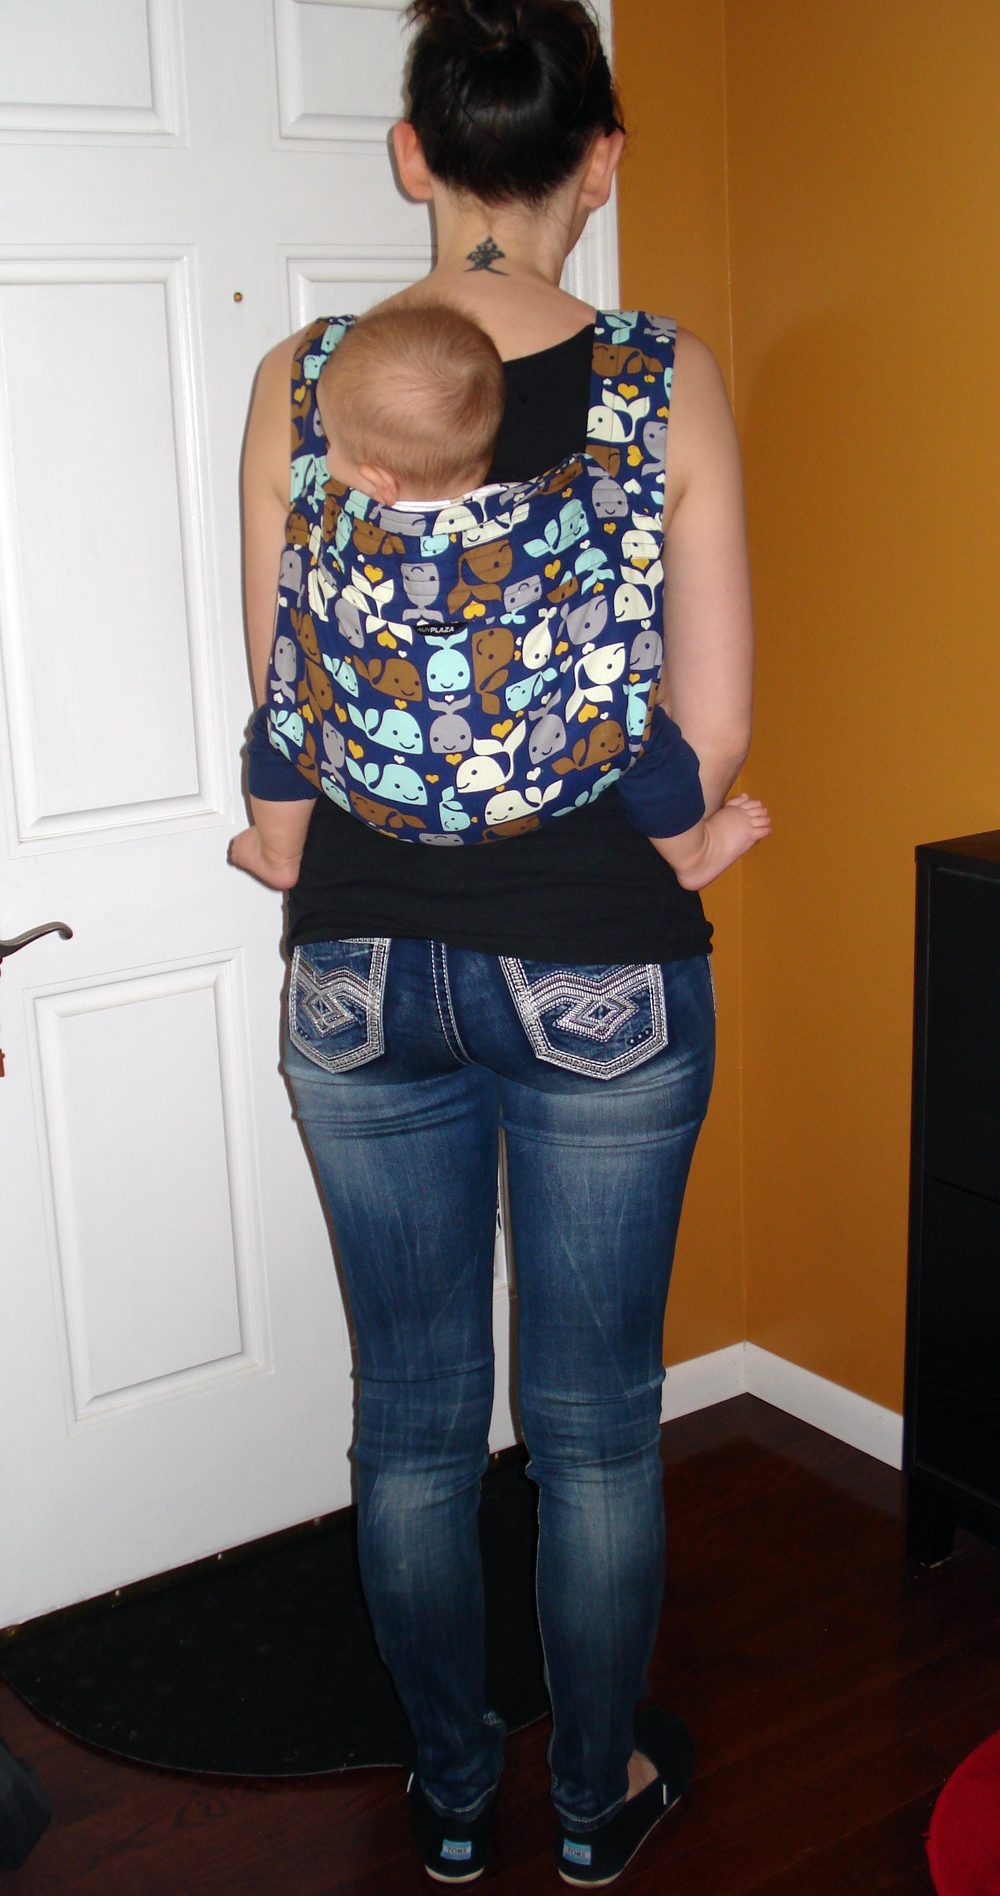
Depending on where you tie the carrier on yourself, you can have baby hanging down low or up a little bit higher. I tried to wear him high on my back. I figured maybe he could see the world better if he could look over my shoulder. Looking at these pictures, he can’t see anything so I need to practice more if I decide to get ballsy and wear him back there.
The little guy was really comfortable in this. There aren’t any weird plastic pieces to jab him, just soft comfortable cotton and padding.
One last part I’d like to talk about is the safety of this pattern. McCall’s writes:
Note: By purchasing this pattern you acknowledge that The McCall Pattern Company accepts no responsibility for injury due to use of this product.
I’ve seen a few reviews around about the safety and how people wouldn’t use this for their child because plain cotton isn’t safe enough. Personally I think this is safe wearing your baby in the front and if you use your brain while tying your child in then it’s probably fine. But I do have to add that I’m not responsible for your child’s safety, do what you feel is best for you and your baby. My opinions are based upon the reinforcement that the instructions have you make. The top part where baby’s head goes and the top and bottom straps are all quilted for additional support. I even sewed everything a few extra times and with a few different seam allowances just to be extra sure. Nikolai is 17 lbs currently, so maybe that’s why I feel his weight is safe in this. But like I said above, I don’t feel safe wearing him on my back with this (or mostly any) carrier.
On the top of the carrier the straps are 2 separate straps that are sewn together at the sides at an angle. Make sure to sew the seams really well, even zig zag to really make sure it’s not going to rip or come apart.
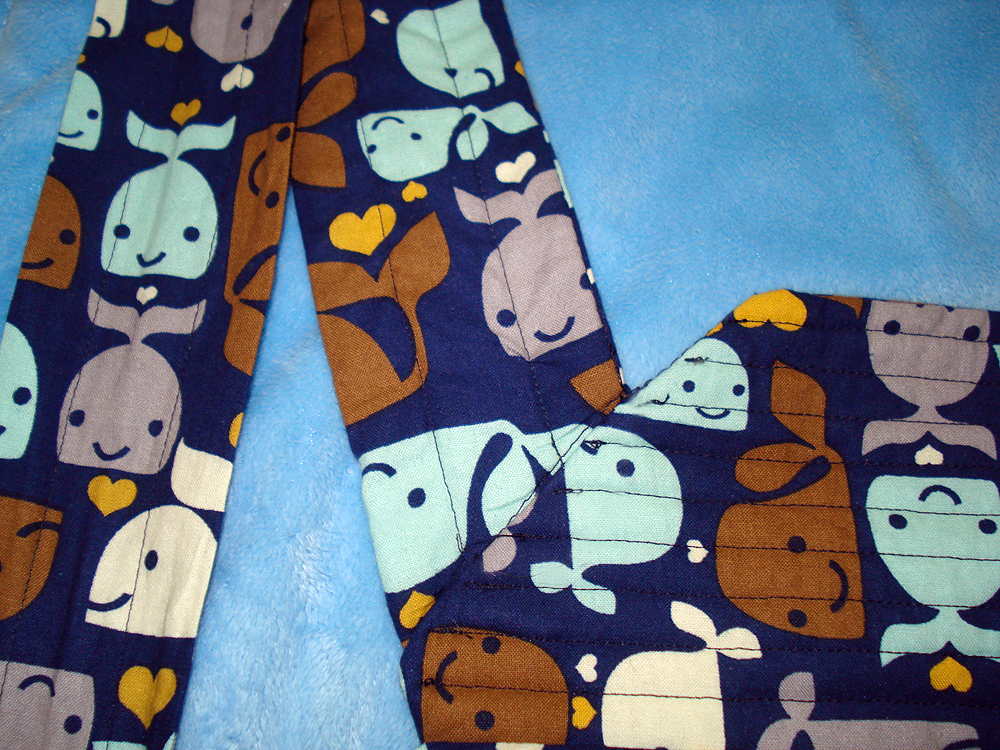
I will add that watching a tutorial on how to tie any sort of baby carrier properly is the best idea. With this one you don’t want the legs to be tied in too tight or the wrong way. On the bottom part of the carrier the strap is one long piece and you channel it through the two side openings then stitch them down like so
Overall I really love my baby carrier. It wasn’t difficult to make and doesn’t take too long. I love the extra quilting detail/reinforcement. You could easily make this reversible if you wanted. I hope to make a couple of these for future baby showers. Even though Nikolai is on the fence about baby wearing I whole heartily believe in baby wearing and keeping your baby close you. And I love the fact that this mei tai rolls up and can be thrown into your diaper bag easily and won’t take up much room.
Nikolai happens to be teething right now and was really enjoying chewing on the carrier:
This project cost me $17.49 total. Since JoAnn’s always has pattern sales I got the pattern for $1, the fabric was 40% off with a coupon and I used another 40% off for the fleece and I already had the matching thread. Not too bad of a deal!
Lastly, have you joined the Maxi Dress Sew-Along yet? If not check it out – we would love to have you join! (No need to be a blogger either)
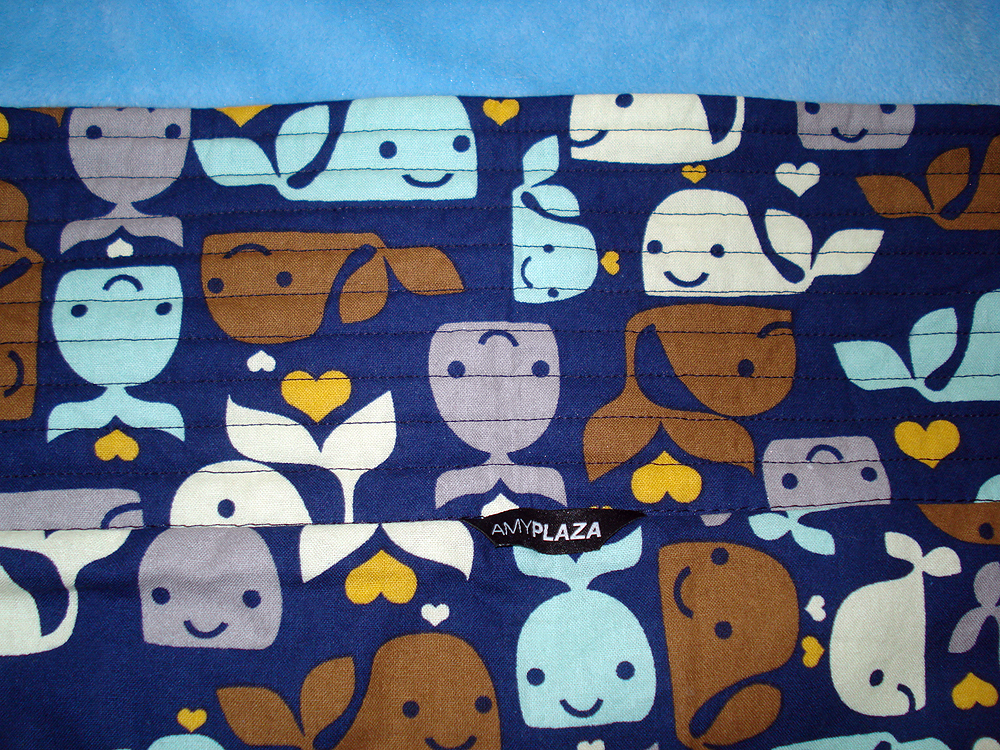
very nice! I like the fabric you chose and your tag . Your baby is so cute!
Thank you! I love those whales, so adorable 😀
I love this idea. You did a great job making this. And I agree about not caring him on your back as he could drop out from the bottom…. I don’t think it would happen but you never know….but I was thinking if you can turn him around to look out as you guys walk? I love the pics and of course I saved them….my grandson is so freaking cute I just love him so much….and I love you too…Mom : )
I can’t turn him around :/ It’s made to “hug” – BUT so far he loves it and is happy being all cuddled up to me <3
hahaha, I was totally hoping to see Guinness in this 😀
It looks like a great carrier for baby and I love the whales!
Guinness actually has his very own baby bjorn LOL he loves it too and will fall asleep in it <3
I wanted to see view A. Even so I watched your tutorial on view B. I thought you did a good job pointing out all tthe things you did along the way. Think you could of showed how you made the straps. I would watch your tutorial on view A, if you did one. Thanks and Sew happy. p.s. Cute son. Stumped sewer, Dawn marie.
Ok, I just saw your other sling. How you cut the material out, leaves me cofused. The pattern piece gives direction on layout to cut it on the fold. But.. the pattern directions show it cut on a single layer of material.. I even tried calling Mc Calls for help. No answer. Whitch did you do?
Hey! Thanks for the compliments 🙂 On the sling you want to cut it on the crosswise grain. You can fold it in half and then place the long side of your pattern on the fold (it says fold on the pattern). The picture where it says a single layer, you can do that too… you would lay it out and cut around all sides EXCEPT for the long side that says fold. After you cut out one side you would unpin it and flip the pattern then lay it on the other side, lining up the fold part. Basically, cut it on a fold with 2 layers, makes it 100x easier! Hope that helps!
thank you. I was confused about sewing the bottom strap on view B. It did not say to pull strap through.
you’re welcome and good luck!